

MadArt
-
Posts
24 -
Joined
-
Last visited
Content Type
Events
Forums
Downloads
Quizzes
Gallery
Blogs
Posts posted by MadArt
-
-
nice photo..
 i wish i can try this too one day...i love the color u edit, really gives the dry feel to the photo...
 -
Wow, interesting cloud shape.. O.o i never seen one like this before. I think its very nice if you thighten the frame..
just my 2 cents... -
thx every one..
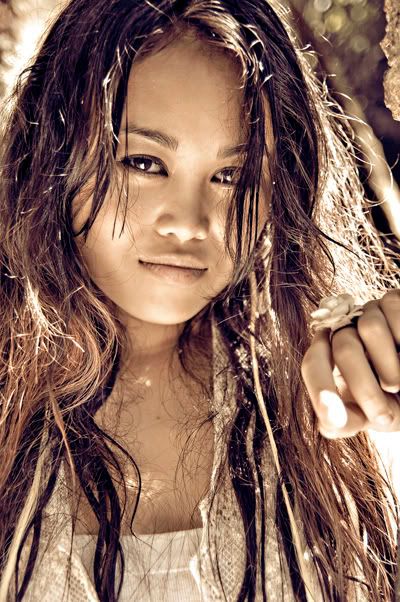
she is not a model, this is her first time posing in front of SLR. She is just a friend of mine on Koh Samui. Really have good time shooting with her, this is the last shot i got from the day because she already gain lots of confidence after shooting, her first few photo wasnt so nice. The light on her finger, i have to agree. Did not noticed that part when i shooting this cos too much concentrate on her eye and another hand supporting reflector because i dont have any assistance. T.T Well if im back in Koh Samui, any one who is interested can try PM me, i might be able to arranged a shoot. and of course its batter to shoot with few more photographer so you can exchange holding the reflector. = = I normally chose a model that not much experience in shooting so it also thought me how 2 guide a model to post and gain more confidence. -
Portrait
Talent : Nicky
Cam : Nikon D50 + Tamron 17-50mm f2.8
Location : Hinlad waterfall, Koh Samui
Photoshop : Unsharpen mask, dodging and color control
Lighting : Backlid sunlight + front white reflector
Shoot in : JPG
-
I see that the photo was taken at 1/4 of a second at f/3.5.
Jukapot
How did you determine that? I tried the simple way of saving the .jpg file and opening properties, but that said there were no details. I didn't go to the effort of trying Elements or CS3.
you for got the advance button.. = =
-
VR or IS only help you to get around 2 stops down from what you normally able to handle...lets say you are able to handle the cam at 1/50sec and the imej still sharp, means IS or VR will help you to shoot slightly sharper at 1/40sec to 1/20sec..Thats just the fact ^.^ its different from practical. I think its the last resort if u cant find other way to increase your shutter speed. I would normally jack up the ISO a little to help.Yes, you !This sub forum is great. What an opportunity to have very knowledgeable photographers evaluate our work. I do agree about the distracting blue light and the need to sharpen the picture, but I love to comforting brown colors of the office.
I see that the photo was taken at 1/4 of a second at f/3.5. Do you have a vibration reduction mechanism on your camera ?? I just curious to know how well they work.
Thanks for showing.
Matt
-
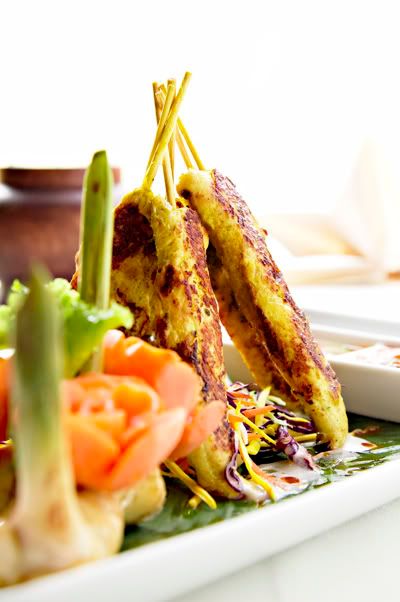
Thx Vulcan for your honest opponion.
your comments really helps.I think you are rite bout the DOF, too used to shoot with low DOF to make the object look more 3D instead of all sharp and i only able to push my F.no up to around F7 - 10 because im using avalable light, should had have a proper setting but i got informed last min by them. Still lack of experience in shooting food because dont really have much to practice but i will take note and be more careful next time.
Happy that u point them out. Thx.
Matt
-
I done this shoot few month back with using sun light for all the shots. Gears Nikon D50 and Tamron 17-50 f2.8. My mistake that i noticed was too abusing the hi light.
#1
#2
#3
All coments are well come.
Matt
-
no, you and actually do this not in dark room..2. Using dodge and burn ( not phoshop, I would recomend this technique ). A little hard to understand trough explanation. But i will try.meaning of dodge and burn ( http://en.wikipedia.org/wiki/Dodging_and_burning )Dodging and burning are terms used in photography for a technique used during the printing process to manipulate the exposure of a selected area(s) on a photographic print, deviating from the rest of the image's exposure. Dodging decreases the exposure for areas of the print that the photographer wishes to be lighter, while burning increases the exposure to areas of the print that he or she wishes to be darker.
Technique
By using completely opaque material as a cover over the preferred area for dodging or burning, absolutely no light will pass through and as a result, an outline of the material may be visible on the print. One way to prevent obvious cover-up lines is to slightly shake the burning material over the covered area while it is being exposed. Another way to prevent obvious cover-up lines is to use slightly less opaque material closer to the outline to produce a more subtle, faded effect.
This technique is for when you are printing in a wet darkroom! I don't think it's relevant to this shot!
You could have improved the shot by allowing the shadows more light. Holding back during the exposure is one way, another way is to bracket by (say) +/- 2 stops and either blend the images together or go down the HDR route.
Conversely, Photoshop can help - Here's a quick and rough example of using the levels and curves actions in Photoshop to lift the shadows.
Good attempt though
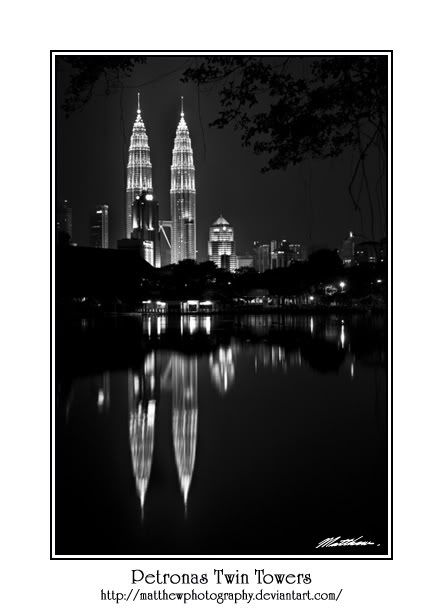
doing it right when the photo is still processing.. This photo i only do photoshop on the B&W. Shots with D50 long exposure on tripod. I cover the two towers with my 2 fingers for around 12sec count manualy and i remove my fingers for around 6sec exposure of the tower same to the water reflection so that the lighted area is not too over exposed...
Matt
-
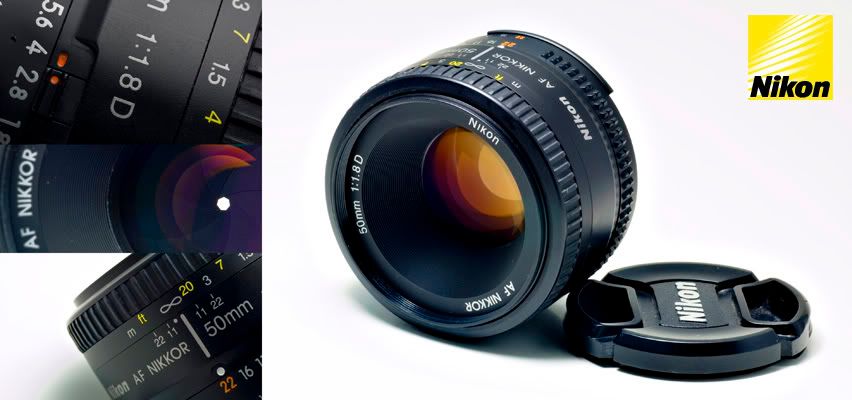
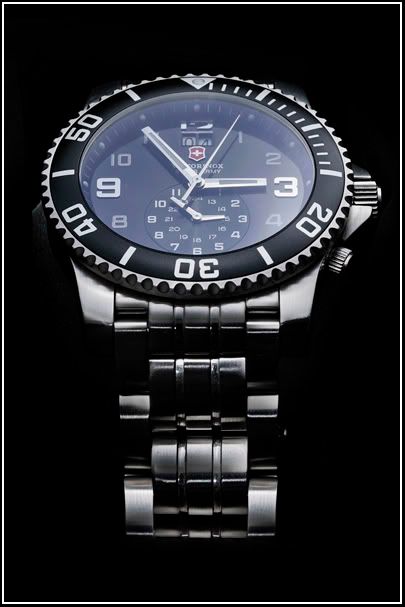
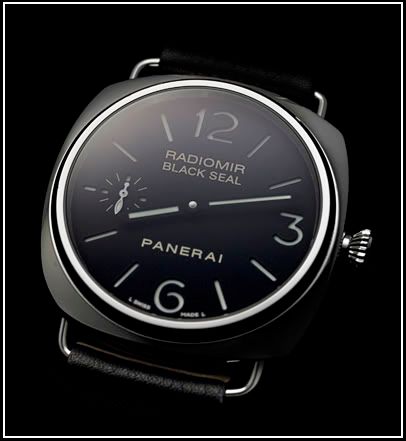
for photo 1st watch photo, panerai and the Nikon lens photo the lighting is from a laundry box i brought from a hard ware shop near my house so its quite even.
Pic :
#1 using 2 SB800 flash off shoe from left and right till get the proper lighting i needed and do some layer blending on some parts that i dont need.
Gears : D300, 2 SB800 and soft box
#2 ( Panerai ) 1 table lamp and few white A4 papers as reflectors
Gears : D50, table lamp and soft box
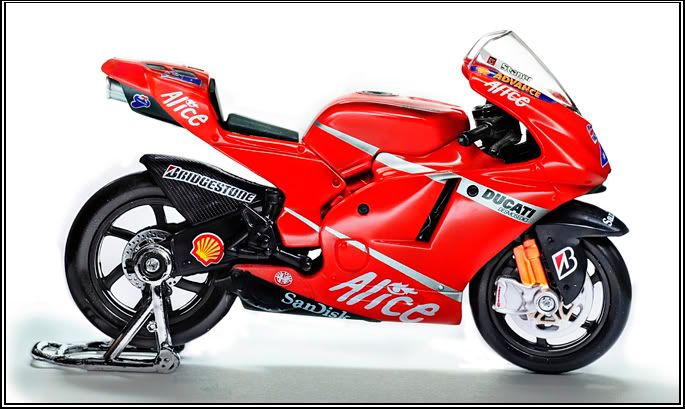
#3 ( Bike ) Lots of layers blanding thats why the lighting is messy.. = = table lamp and lots of A4s
Gears : D300 and 2 SB800
#4 ( Lens ) 1 light on soft box, no reflectors or masking
Gears : D50,tamron SP90 F.No. : i think its f18 Shutter around : 1/5 ( Check exif plz i cant remember )
Matt
-
Nigh landscape with moon. Very difficult shots. I never tried this one before. You already got the gears you need.
You could try this to improve this shots.Option :
1. Using filters - gradual ND might help
2. Using dodge and burn ( not phoshop, I would recomend this technique ). A little hard to understand trough explanation. But i will try.
meaning of dodge and burn ( http://en.wikipedia.org/wiki/Dodging_and_burning )
Dodging and burning are terms used in photography for a technique used during the printing process to manipulate the exposure of a selected area(s) on a photographic print, deviating from the rest of the image's exposure. Dodging decreases the exposure for areas of the print that the photographer wishes to be lighter, while burning increases the exposure to areas of the print that he or she wishes to be darker.
Technique
By using completely opaque material as a cover over the preferred area for dodging or burning, absolutely no light will pass through and as a result, an outline of the material may be visible on the print. One way to prevent obvious cover-up lines is to slightly shake the burning material over the covered area while it is being exposed. Another way to prevent obvious cover-up lines is to use slightly less opaque material closer to the outline to produce a more subtle, faded effect.
Short explaination
Use some black cards to cover the hi-light area of the photos during the shutter open and exposed it in the last few sec for a proper exposure.
Example
Shutter 30sec, cover the area for 15-20sec ( means the area did't get any exposure for the early 15-20sec, it will only get exposure after the 15-20sec ). Means the hi-light area only been exposed for 15sec or 10 sec depends on the condition.
Hope you understand.
Cheers
Matt
-
This is an attempt to shoot automobile but this is just the toy version so its much simpler...
Non-reflective object
Matt
-
Im practicing on some reflective product photo. All coments and cretique that might help me to is wellcome..
-
My personal thought :
-what i noticed straight after i open the file is, lack of shaprness. Do you use tripod for this? If yes, use auto timer to reduce the shake when u release the shutter.
-i dont really prefer the blue light from the laptop, its a lil distracting because. I think it would be nicer if the light is off.
-may be some proper arangement of the chair, papers, the key at the drawer, the phone will really make this office looks nicer and give a batter feeling for the viewer. It some how makes the viewer feel like you really try to make a good photo out of it instead of just snapping it.
-some light added on the corner behind the seat would be good.
-white balance, still ok. A little cooler would be even batter.
Overall nice try..
I never have a own office before but i do shoot interior architecture so just my own opponion on how 2 improve the feel of the photo and the quality of the color because i think u can control everything in this photo.
Thx for sharing
Matt
-
I do noticed normal dark brown squirrels around Samui but i cant see the special squirrels in Samui any more which is in white. It use to b common in Samui when 6years back but not any more. Now the one which is getting lesser is the gray squirrels.
Matt
-
Another quick HDR tutorial. Its a different type of HDR.
http://srpsrds.deviantart.com/art/f-hdr-tutorial-51728131
My try.
-
Interesting storyline
Welcome to the forum
Hope to see more
Thx vulcan, i will b happy to share more..
-
Very nice, madart, you might try posting in the evaluate my photo forum--there are quite a few people in there with similar interests.
Thx sbk for guiding me trough the site and the coments.
p/s : you can call me Matt.
-
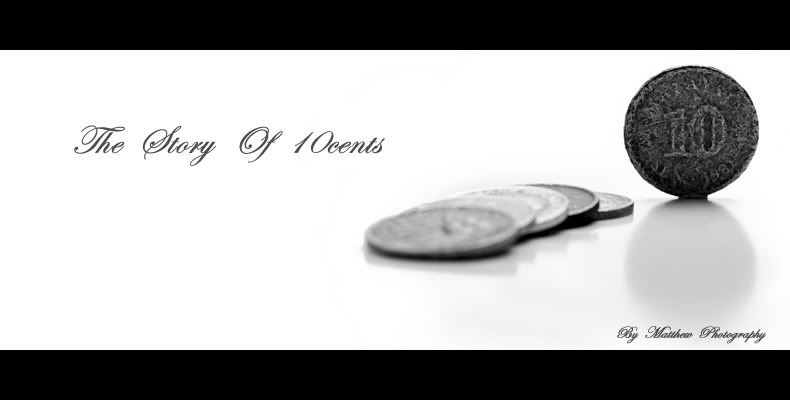
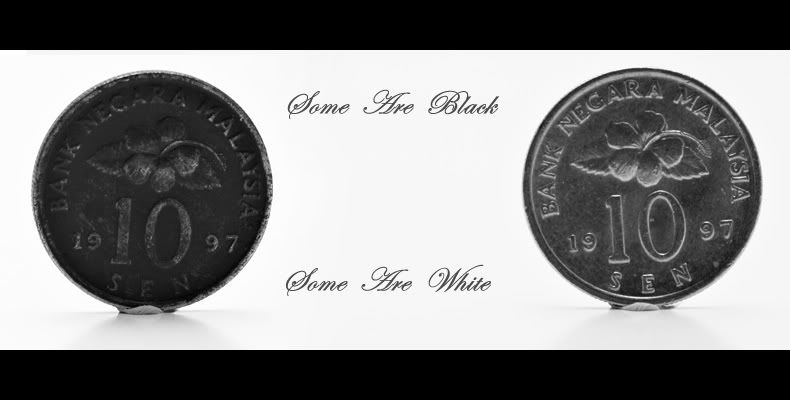
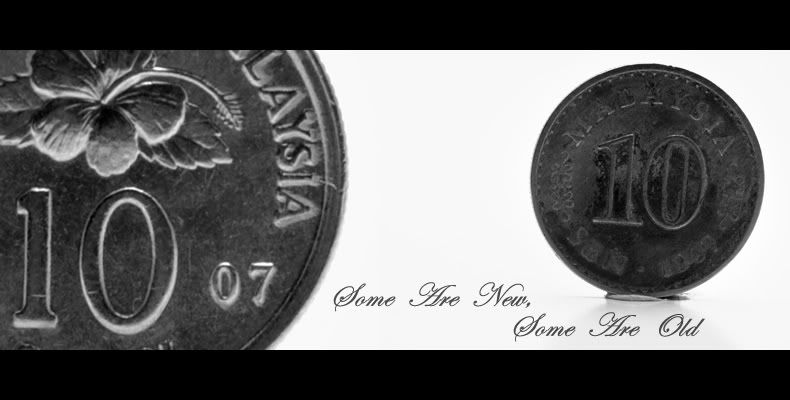
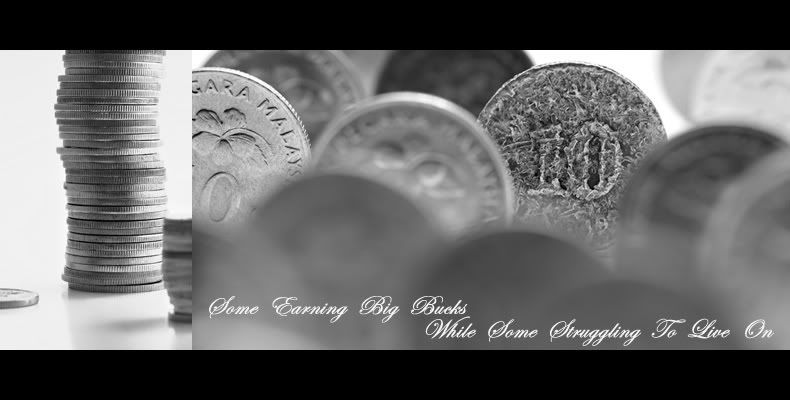
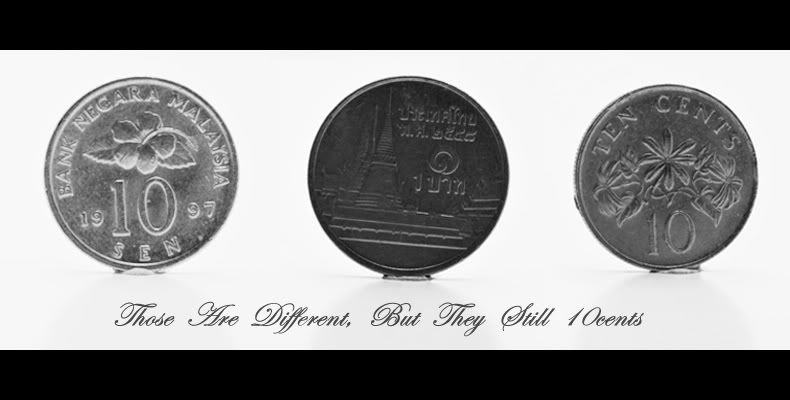
A story of 10cent. No mater its black, white, old or new it still can buy u a couple of sweets. How good if man kind can be that way.
Setting : 1 DIY soft box
Lighting : 1 table lamp from top
Exif : Most shoot at F18, shutter 1/8sec
Matt
-
This is called ghost effect, its mix between flash and slow shutter.
How it works :
1st, it absorbs the light from the flash into ur shutter.
2nd, it absorbs the light surrounding while the shutter is still open.
Here is some experement i did before.
Multiple flash on long exposure.
http://s32.photobucket.com/albums/d12/nonb...ent=strobe1.jpg
http://s32.photobucket.com/albums/d12/nonb...rent=strobe.jpg
Here is example of shots with long shutter without flash but calculating the exposure for the object and back ground..
http://s64.photobucket.com/albums/h192/BS2...rrent=Ghost.jpg
http://s64.photobucket.com/albums/h192/BS2...rent=Ghost2.jpg
Hope it helps.
Matt
-
Nice topic...
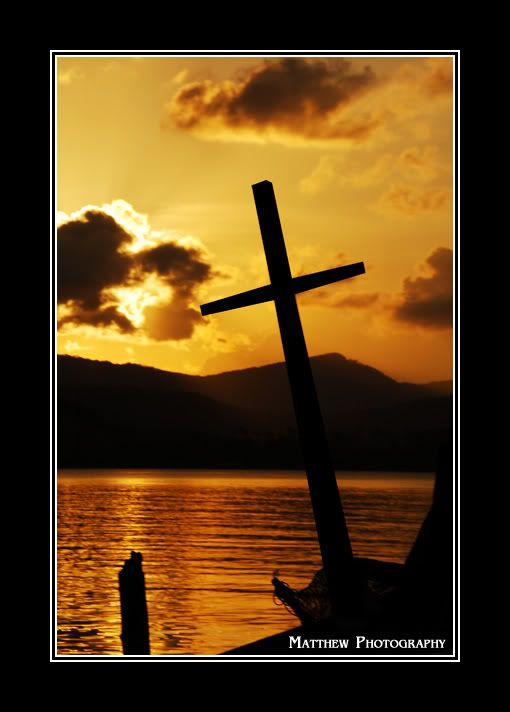
here are mine..#1
Shot this in Koh Samui, at the Lompraya peer near to big budha.
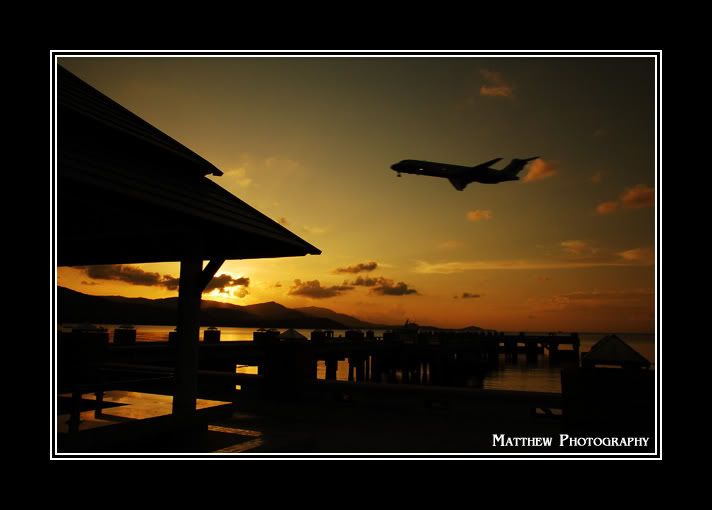
#2
Same location...
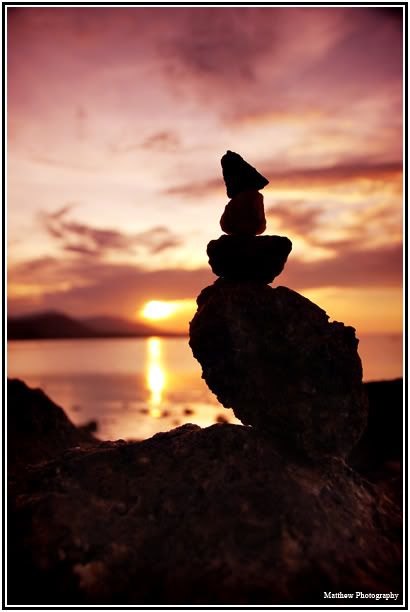
#3
Koh Samui
#4
Shot this while it was raining, dont wanna waste my trip waiting for the sun. Looks scarry.
-
A friend of mine took this at the croc farm.
wow...speachless. O.o
-
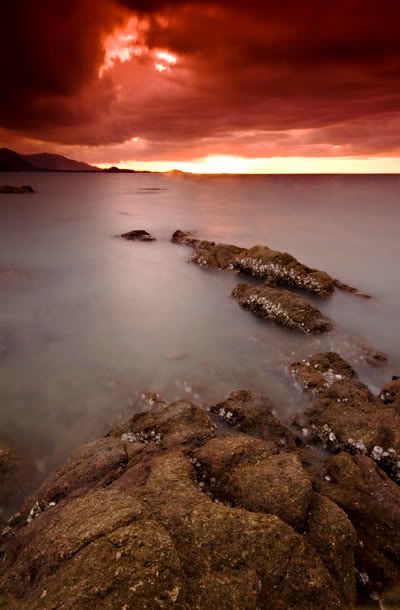
Hi, im new here, this is my first post. Im a hobby photographer and also doing some shoot for restaurant and interior decorations in samui. In free time i do landscape and macro shooting in samui. Here are some that i would wish to share.
#1
This was taken in BigBudha, the location is just bihind the large statue.
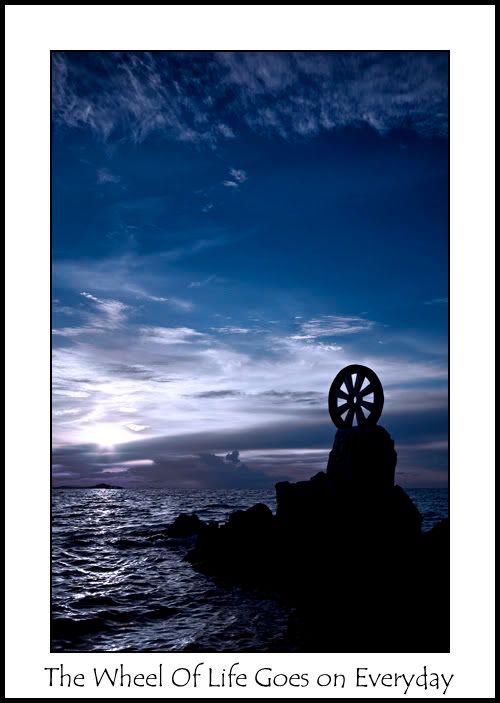
#2
This was taken near to the restaurant name 'My Friend'
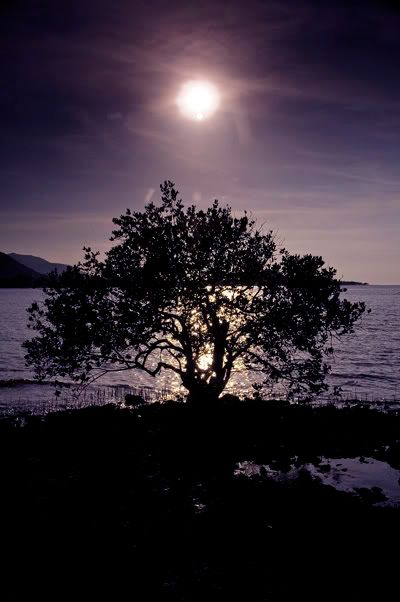
#3
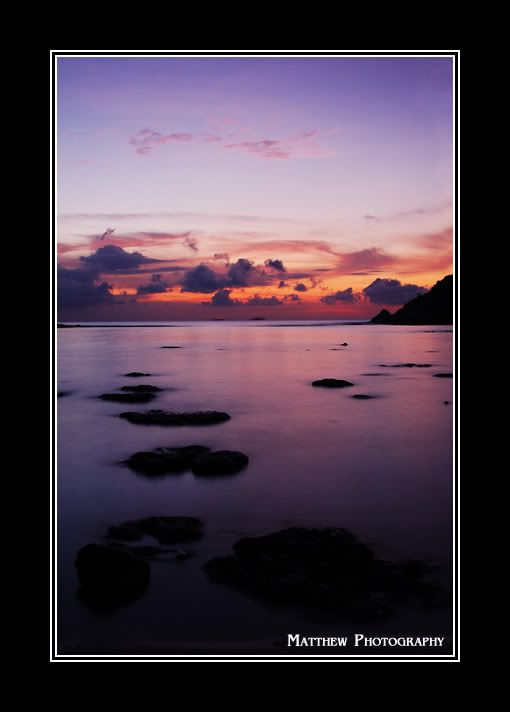
Taken in the same location as pic #2 but futher up, Its my faveroute location to watch sunsets in Samui.
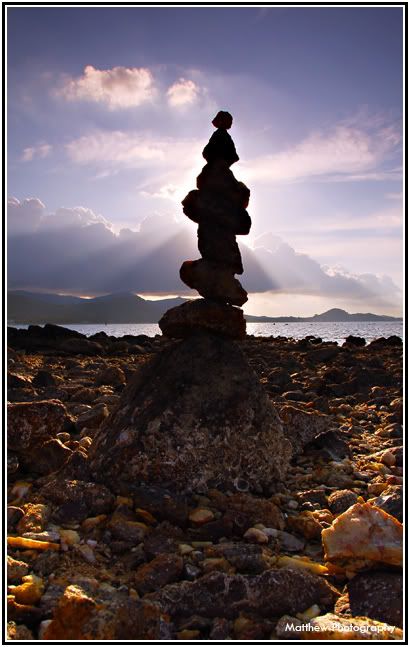
#4
Cheong Mon sunrise. Quite a nice location for sunrise because of the little island few meeters from the beach.
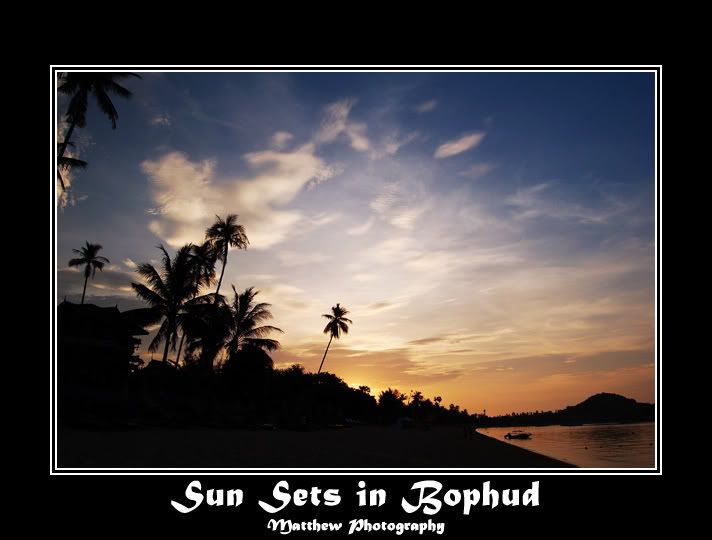
#5
Bophud beach, this is the first beach i started shooting in Koh Samui.
-
 1
1
-


Evaluate My Photo
in Evaluate My Photo
Posted
Model : Mushi Age : 20
Gears : D300 + Tamron SP 90 macro
Lighting : Avalable light
Din managed to get really good photos from him because i only have 2 hrs with him and he din get enough rest, he only slept for 4 hrs. This is his first time shooting too but i have to admit that he is a fast learner in posing.