.jpg.0f9a7f0a708648473981880fefc9a7c0.jpg)

gejohesch
-
Posts
786 -
Joined
-
Last visited
Content Type
Events
Forums
Downloads
Quizzes
Gallery
Blogs
Everything posted by gejohesch
-
Which Travel Insurance for a Thai National?
gejohesch replied to gejohesch's topic in General Topics
Hahaha! Interesting comment! Maybe you have a point! -
Hi! I'm planning a trip next year, myself + my Thai partner (been with her for 15 years already, so not just a GF!). Trip duration about 4 months, of which 3 in Schengen area and 1 month outside Schengen (Mexico to be exact). I hesitate between 2 insurance options, 1) with ALLIANZ = "Worldwide Hiphop"; and 2) with AXA =" Worlwide". Allianz would cost 3640 THB; AXA would charge 3061 THB. Both would provide sufficient coverage to qualify for a Schengen visa. I checked a few other options, e.g. Europe Assistance and Mondial Care. They would be significantly more expensive. As we hardly ever, maybe even never, had to put a claim to any travel insurance we've taken, I would not really see the point in paying over the odds for what could be a "more robust" insurance package. Therefore, I'm now looking hard at either ALLIANZ or AXA. Would anyone have any experience with those insurances that could be shared in this discussion? Thanks a lot in advance for your contributions!
-
That's a good comment. IN plain english, "Not getting involved seems part of the culture here" translates as "people don't give a <deleted> about (nearly) anything".
-
That's another issue indeed! I've been going regularly to the OTOP shop in town, while my wife does the market for fresh food. Always specified "not much sugar", in Thai (I speak it quite OK). The woman there always gave me one of those sweet iced coffees which I can hardly swallow down 😖. I think the woman must be a bit dumb....
-
Thanks, that's useful
-
Thanks, I will try via Lazada then (although I don't like their site much, too "busy" and confusing)
-
Not a single hill tribe area coffee I have tried suited me, that's why I posted here. I found all that "black and shiny" dark roast type that I don't like very much.
-
Like so many people, I love my coffee. I could say I'm addicted to coffee 😉. I grind the beans fresh to make coffee with a Minimex espresso machine at least twice a day, first thing when I wake up, and second when I emerge from my midday nap. My issue here is that I notice quite a difference when I use beans bought in Thailand or beans bought in Europe. I do not buy the most commercial beans (e.g. what can be found in Big C), I rather go for what I would call "specialty" beans from northern Thailand origin (I go to Makro for that purpose). The Thai beans are always very dark and shiny, which obviously indicates they are "high roast", and I find the result rather "earthy" and not very aromatic. That's why I bring coffee from Europe - obviously not "coffee grown in Europe" but coffee imported from the Americas or Africa etc - and I buy from coffee shops. A full kg bag would cost around 35-50 EUR. Those beans are always light brown and not shiny, so very different from the Thailand beans. The result is far better : less acidity, "sweeter", aromatic etc. That's the type of coffee I like and I don't mind paying extra for it! But I cannot bring several kgs of coffee in my luggage when I come to Thailand. So, sooner or later, I have to fall back on those dark and shiny thai beans. Help!
-
Thanks!
-
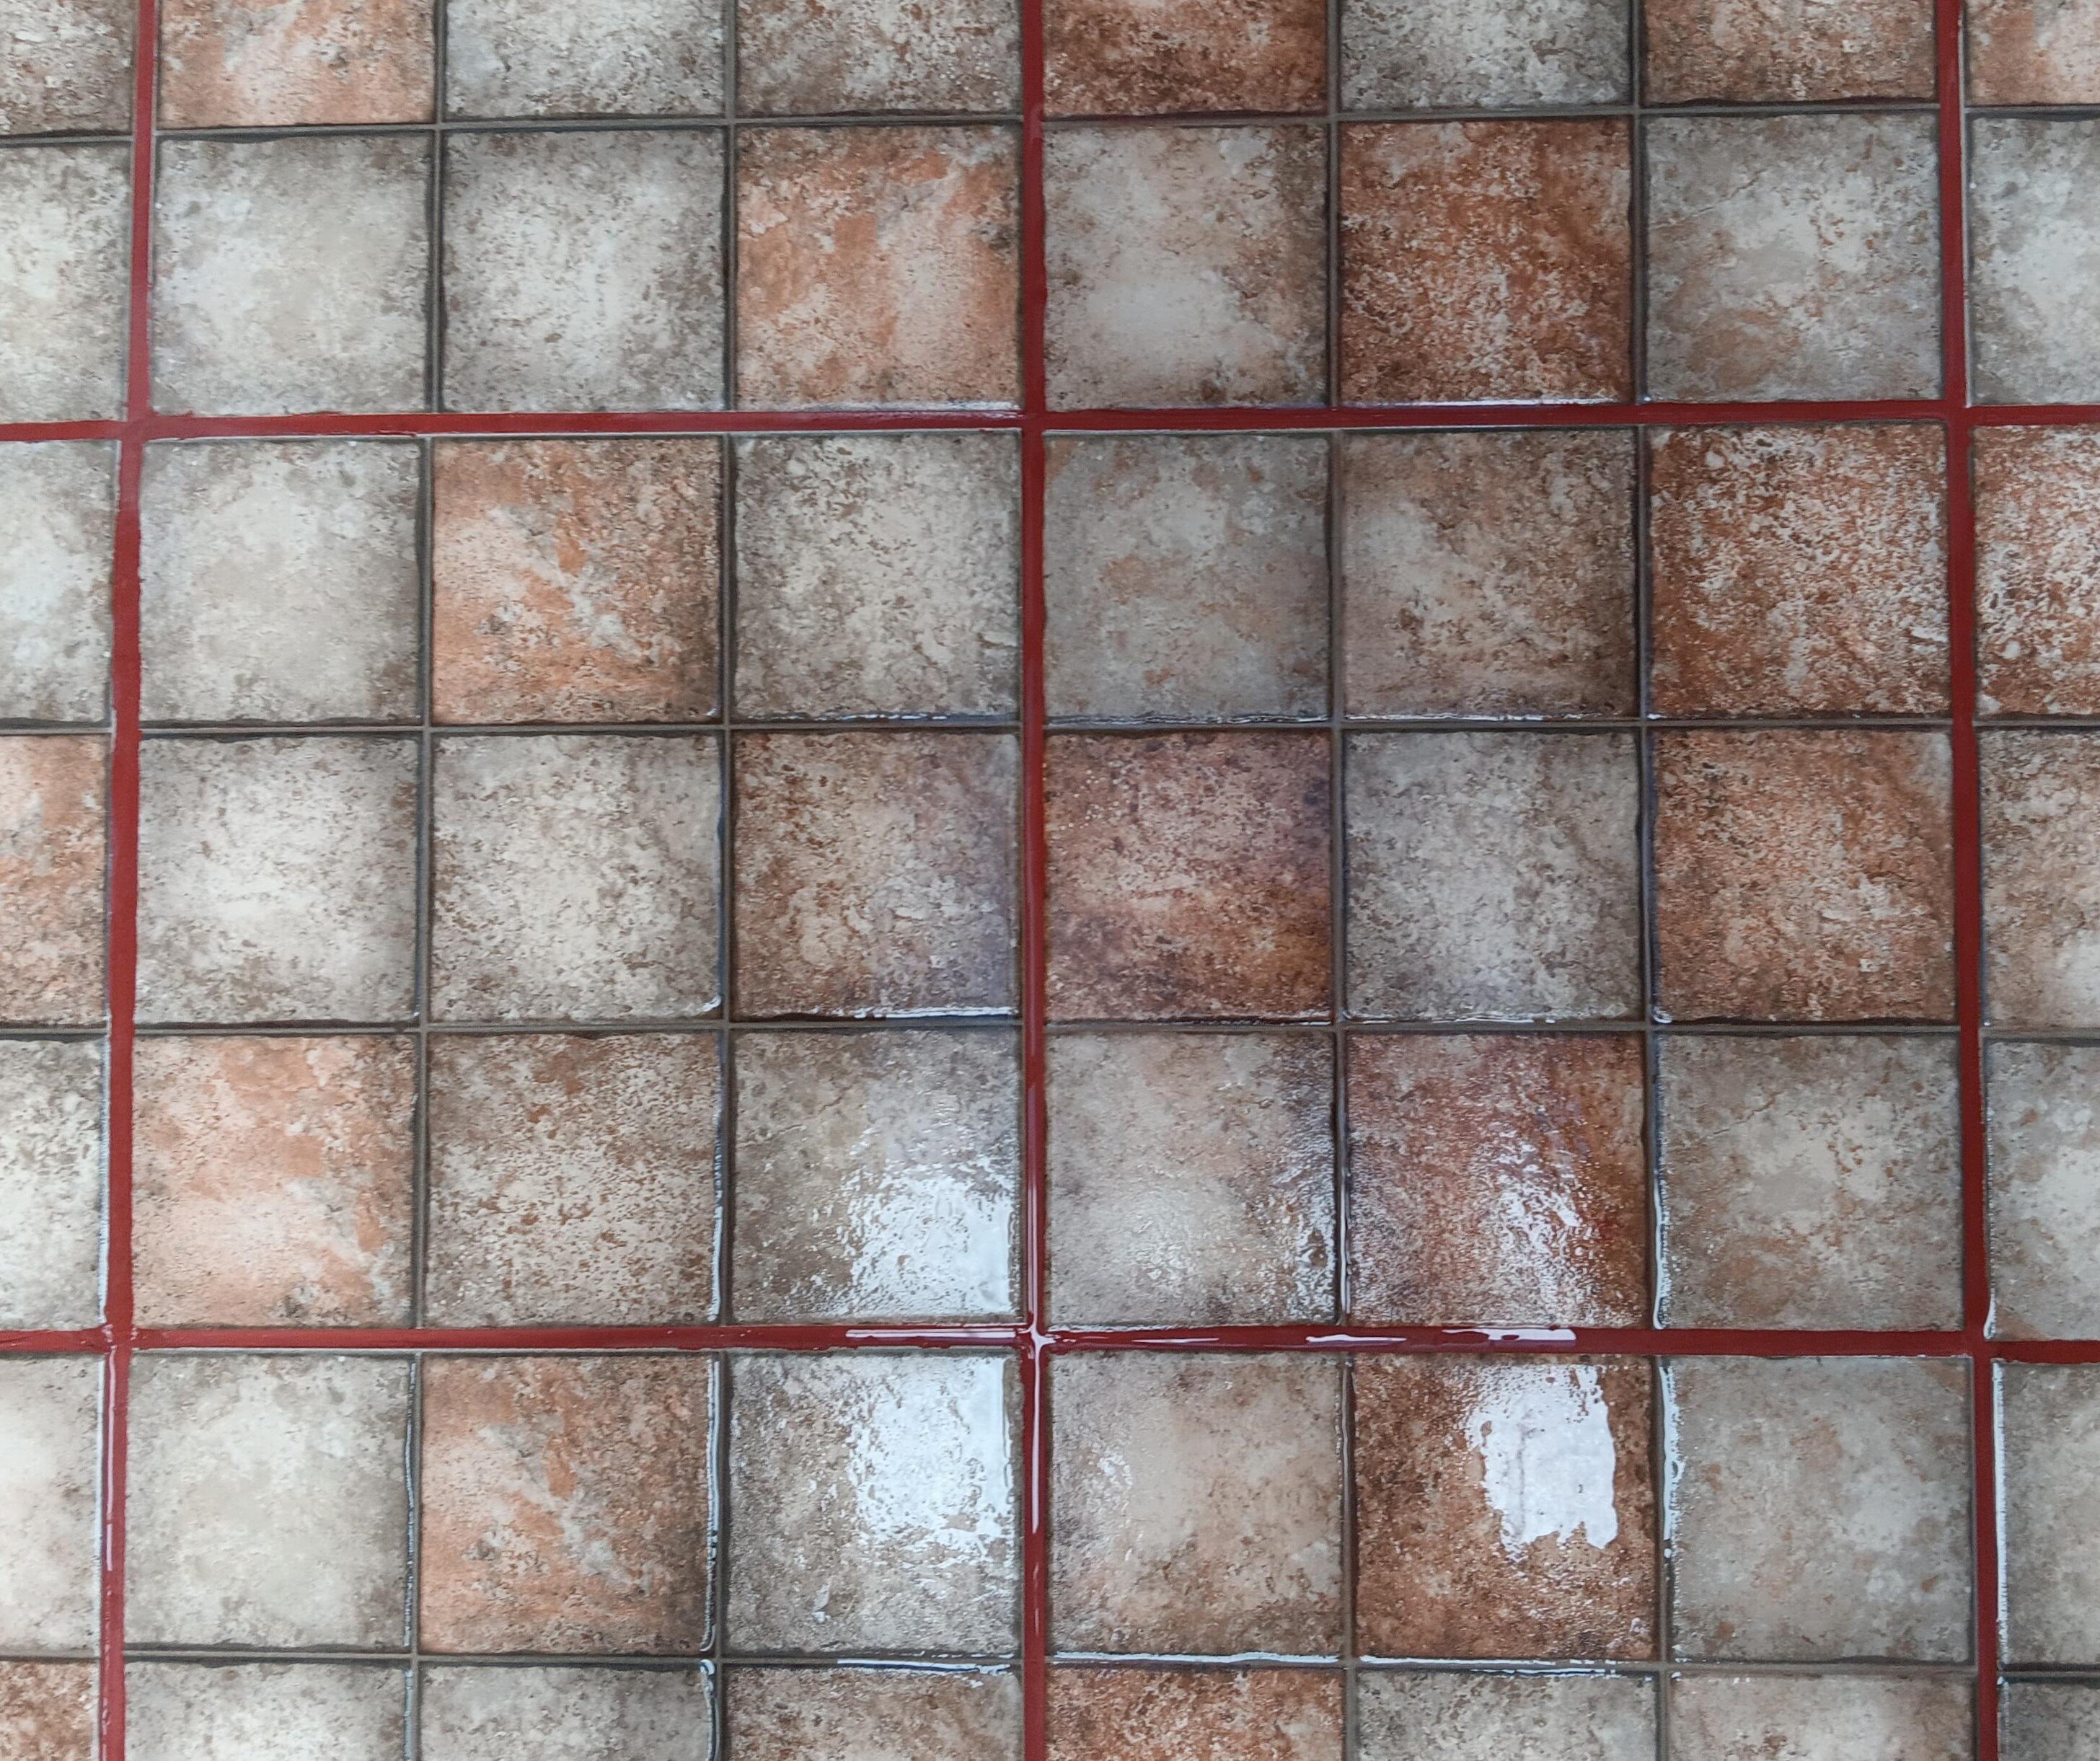
1 month later, after a lot of work, I think I have finished tiling up the main part of the area I was talking about (I still have to do the "kitchen" part behind the 1/2 way wall which has those white tiles). I post 2 jpegs for an overview and for the detail. It's shining nice because I just rinsed the tiles 😉. Granted, it's not a pro work, but for an amateur, I think it's pretty acceptable! Still have to do a few cosmetics, repaint the bottom of the walls and columns.... It's a lot of work, for sure. At the same time, I have the satisfaction to have acquired new skills and I feel proud about it. Sure, next time I will do better!


-
Not so much!
-
What was rather stupid in the first place, to me at least, was to opt for submarines. The Gulf of Thailand is ca. 60m deep in average, and never above 85m. If I remember right (it's not my field), a submarine has to be sthg like a minimum of 20 m below sealevel not to be detected too easily, and has to clear the seabottom by a minimum of 20m for safety reasons. Which leaves on average a 20m depth range to operate. That does not sound a lot to me! Then of course, the Andaman Sea is much, much deeper. But what would be the purpose of a thai submarine? To face off India, the obvious big player in the region? No chance to compete whatsoever! So, thai submarines sounded to me like toys for the guys on top, and a complete waste of money.
-
I would add to the qualifications required that a teacher must also have an "acceptable" accent. As a non native english speaker (proficient with 4 other european languages), I find that certain native speakers have accents which are rather painful to hear. I know this is a delicate and obviously subjective matter, but it also has to be said.
-
"Thais' reading skills" - yeah, that's also sthg to talk about. I read somewhere that Thailand is one of the countries where people read the most. That's total BS to me. Have you ever seen a bookshelf in any house in Isan??? Not a single person in my wife's family has ever had a single book (maybe with the exception of 1 or 2 booklets about religion, religion and religion) .... I guess that's not only Isan....
-
I guess several persons, native speakers of (say) language A, will have issues with the way native speakers of language B speak that particular language B. Personally, not being a native english speaker, well educated in how my native language works (grammatically etc), I find 2 mannerisms with English speakers that irritate me. Here are these 2 "mannerisms": 1 - What I call the double "that". I read lots of writings by British people like this: "I think that, because of blablabla, that we should do etc etc". That repeat of the conjunction "that" does not sound correct to me at all, but several British told me "it's correct". 2 - So many transcripts in the media of discussions between supposedly very well educated persons, eg on TV, are complete gibberish. Maybe that's more the case in the US (I read lots of US material)? Maybe that's because no efforts are spent in those transcriptions that are rather meant for short term use?
-
I tend to agree. As a EU citizen, I was clearly told (I asked!) by my home country tax authorities and they said loud and clear "if you travel around and are not taxable anywhere, then by default you will become taxable here". How much taxable depends of course on the particular country's rules.
-
Too americanised to my liking. Not much proper and interesting culture compared to Thailand. Food is a lot better in Thailand too. Not talking about the females' side here.
-
Does one have to become a priest to become resident in the Vatican?
-
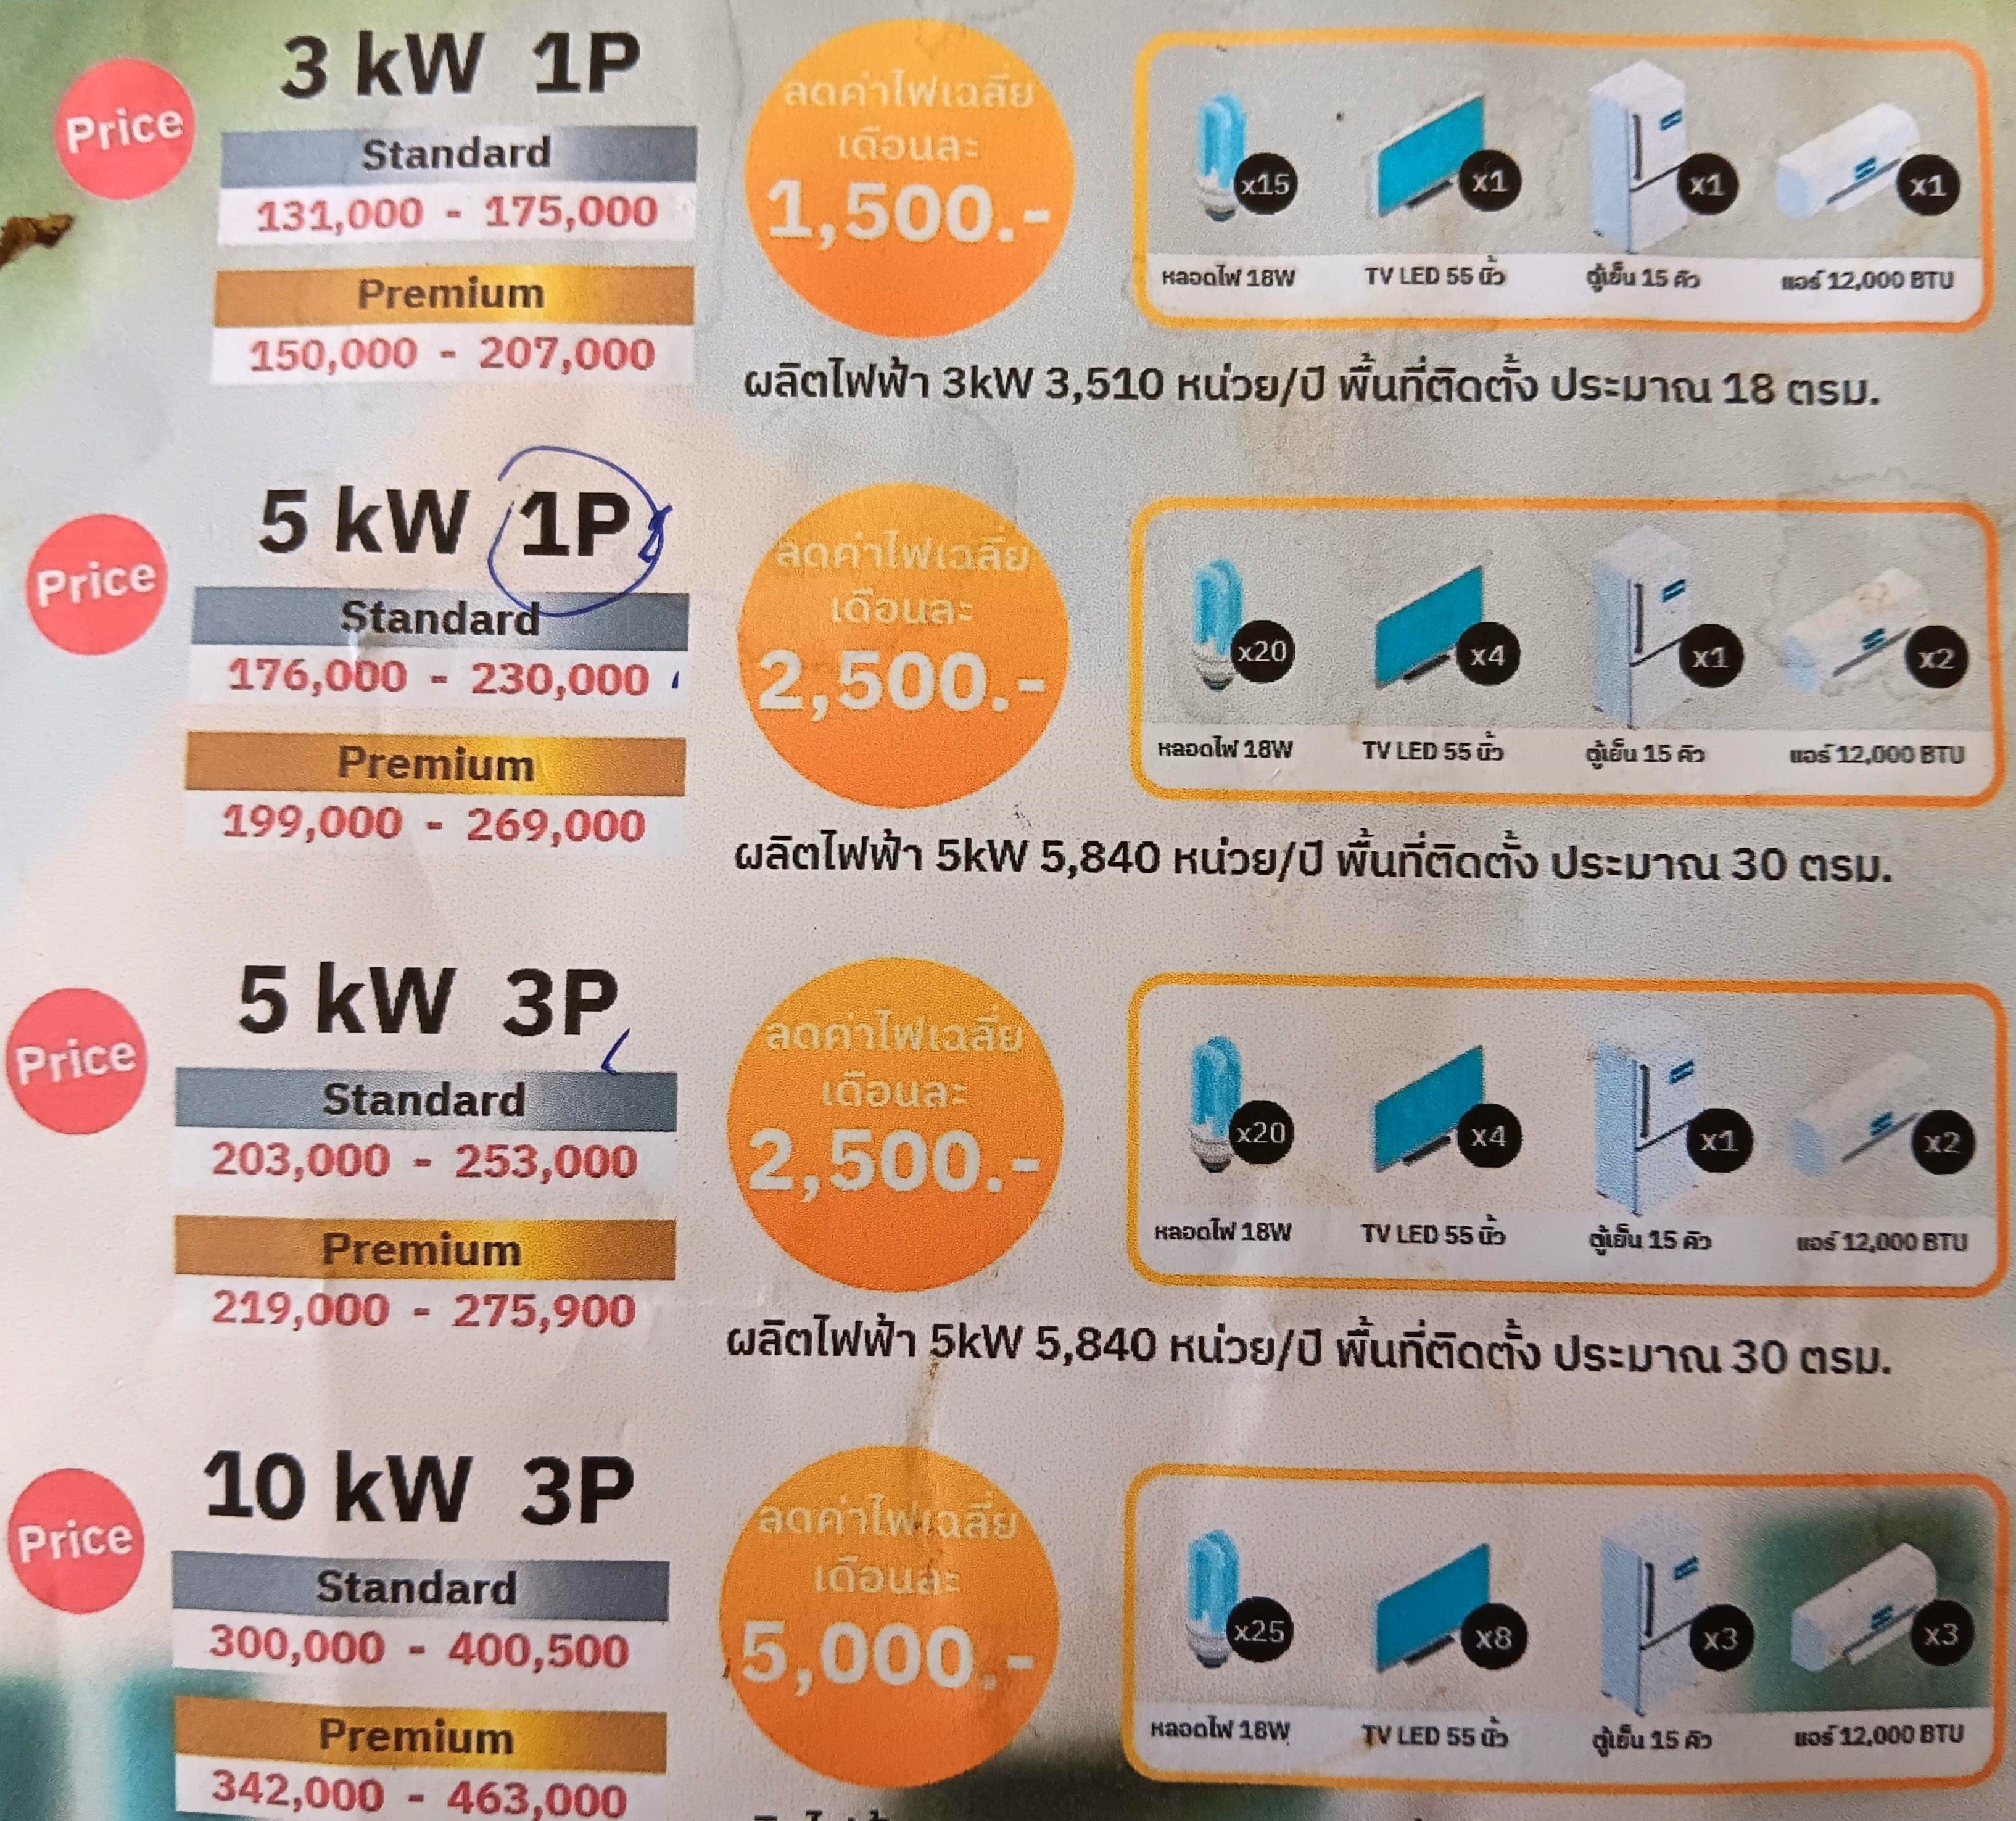
Coming back to your comments. First, I attach a jpeg showing the prices quoted by PEA for installations ranging from 3 to 5 KW (1P or 3P - Standard or Premium). As a bonus, the jpeg includes the 10 Kw 3P option ????. The quotes are ranges, depending on the particular equipment one would select for an installation. The PEA website peasolar.pea.co.th offers indeed a variety of brands etc. To the right, it says how many square metres about the installation would be. For 5 Kw : ca. 30 metres; for 10 Kw : ca. 60 square metres. We ourselves have an ideally positioned roof of a bit over 30 sq. m available - facing the south and with no obstruction. So, obviously we would be limited to the 5 Kw option, which is actually the maximum we would be considering. Also to the right, in the orange box, an indication of a typical range of equipment that would be powered by the solar panels. I guess that is purely indicative. I'm a bit puzzled by 5 Kw driving 2 AC's of 12,000 BTU. That's not a lot of AC running at a given time, I think. However, that does not worry me too much, if we run a lot of equipment (during day time) and need to import from the grid (and pay an average of ca. 4 THB/unit for it), so be it! .... I will have to do some detail calculations at some stage to see how economical a 5 Kw installation would be for us. Note that we are absent for 3-6 months each year (traveling abroad), so any electricity produced by our solar panels would be bought back by PEA (at 2.2 THB/unit) - that would help the economics, I guess. Finally, about the overall costs, we seem to concur that the PEA quotes tend to be OTT a bit. Going to another provider for the installation leads to 2 questions: - which one? Would anyone have recommendations around Khon Kaen? - would a solar installation done by others than PEA still allow for the excess electricity generated to be bought back by PEA?

-
I'll come back to all these comments, takes me a bit of time to get my thoughts together! ????
-
Indeed, I forgot to say, that includes a contract (for 10 years if I remember right) to buy back excess electricity at 2.2 THB / Kwh. I guess that's what is meant by "grid feed" contract. Whenever we need extra power (when solar generated not sufficient), we would buy at the standard rate. I checked, the average we paid over the last 17 months was around 4 THB/Kwh, but that would possibly increase a bit depending on how much we have to "import" (re. PEA price scale). The packages I mentioned do not include batteries. We are not big users at night. I cannot remember the length of the guarantee , I'm not sure that was for that long as 10 years. Reason I'm a bit vague is that I considered that visit to the PEA office as a "first contact". We are not going to decide for any installation until some time next year. We plan to get a few extra AC's installed first and then watch for what our consumption becomes, then review the calculations.
-
Coming back to this. No one replied to your question yet (last line).... ???? Meanwhile, I went with my wife to the local PEA office and discussed the solar options with an advisor. As it turns out, there are indeed a number of options: a) 3, 5, 10, 15 and 20 KW; b) 1P or 3P 51 or 3 phase): 3KW is only a 1P option. I'm pretty certain what we have is a 1P (1 phase) installation at home as we are (so far) small domestic users. 10, 15 and 20 KW are only 3P - these probably target large scale users (industrial, shops). c) Standard or Premium: Standard comes with a String Inverter whereas Premium also has a "Optimiser" and a Micro-Inverter. Now, it's clear that we would either go for 1 or 3 KW, and 1P (still need to plan for additional AC's etc). I'm not clear however about the prices quoted by PEA. OK, they include an entire package (installation, maintenance) but they vary between 131,000 and 269,000 THB (3KW Standard to 5KW Premium). This raises 2 questions: - is the additional 20,000 to 40,000 THB to go from Standard to Premium worth it? I'm asking because I have no idea what benefits we would get with Premium (not an expert!). - are the PEA package prices, as mentioned, not a bit over the top ? Without going to boring details here, it seems that the panels on sale in HomePro or Global House plus the inverter would roughly sum up to less than 100,000 THB for a 5 KW installation. OK, there would be extras to pay for wiring etc + installation.... I will eventually get deeper into the matter, but I wonder if anyone on this forum has relevant experience and comments.....
-
Thanks, good idea (reading the meter at different times etc)! Now, that statement about the "sweet spot" being 4-5k thb per month and a 6 kw installation" : I wonder. I cannot see ourselves going over 2-2.5 k thb/month (we don't use AC the whole day through). I would imagine an installation of 3kw would then be economical just as well - meaning 6 or 7 panels.
-
Yes, absolutely right, and thanks for bringing this up. I was already thinking a bit about it..... So, our daytime consumption has indeed to be less than the 12.3 units quoted earlier, and I would have to revise the estimated number of panels down. But how really are we going to know what we consume during daytime???
-
Very interesting, thanks! Need to think a bit on that one, but a priori, knowing that we have long absence periods (traveling abroad sometimes for 2-3 months), it sounds like we would better go "official".