.png.3b3332cc2256ad0edbc2fe9404feeef0.png)


Simple Jack
-
Posts
264 -
Joined
-
Last visited
Content Type
Profiles
Forums
Downloads
Everything posted by Simple Jack
-

1993 Yamaha Belle-R. Restoration thread.
Simple Jack replied to Simple Jack's topic in Motorcycles in Thailand
Thai Watsadu. Darn. The non heat resistant can claims to etch. Hopefully it will be okay. Thanks for the link. Will order some up for future projects. -
1993 Yamaha Belle-R. Restoration thread.
Simple Jack replied to Simple Jack's topic in Motorcycles in Thailand
Blast it with wd40. & a load of heat first. I used the exact same method. Nut & washer with an old 9mm bushing. Used a G- clamp to push the old bushings out. Once you burn thru the old rubber/plastic. Can knock it out easy enough. If your not worried about the look. Pack that bad boy full of grease. Should be good for years. And yep. Small world. Mrs. Simple want's to make the "bell end" as i call it. Into a sidecar. Mobile selling food machine ???? -
1993 Yamaha Belle-R. Restoration thread.
Simple Jack replied to Simple Jack's topic in Motorcycles in Thailand
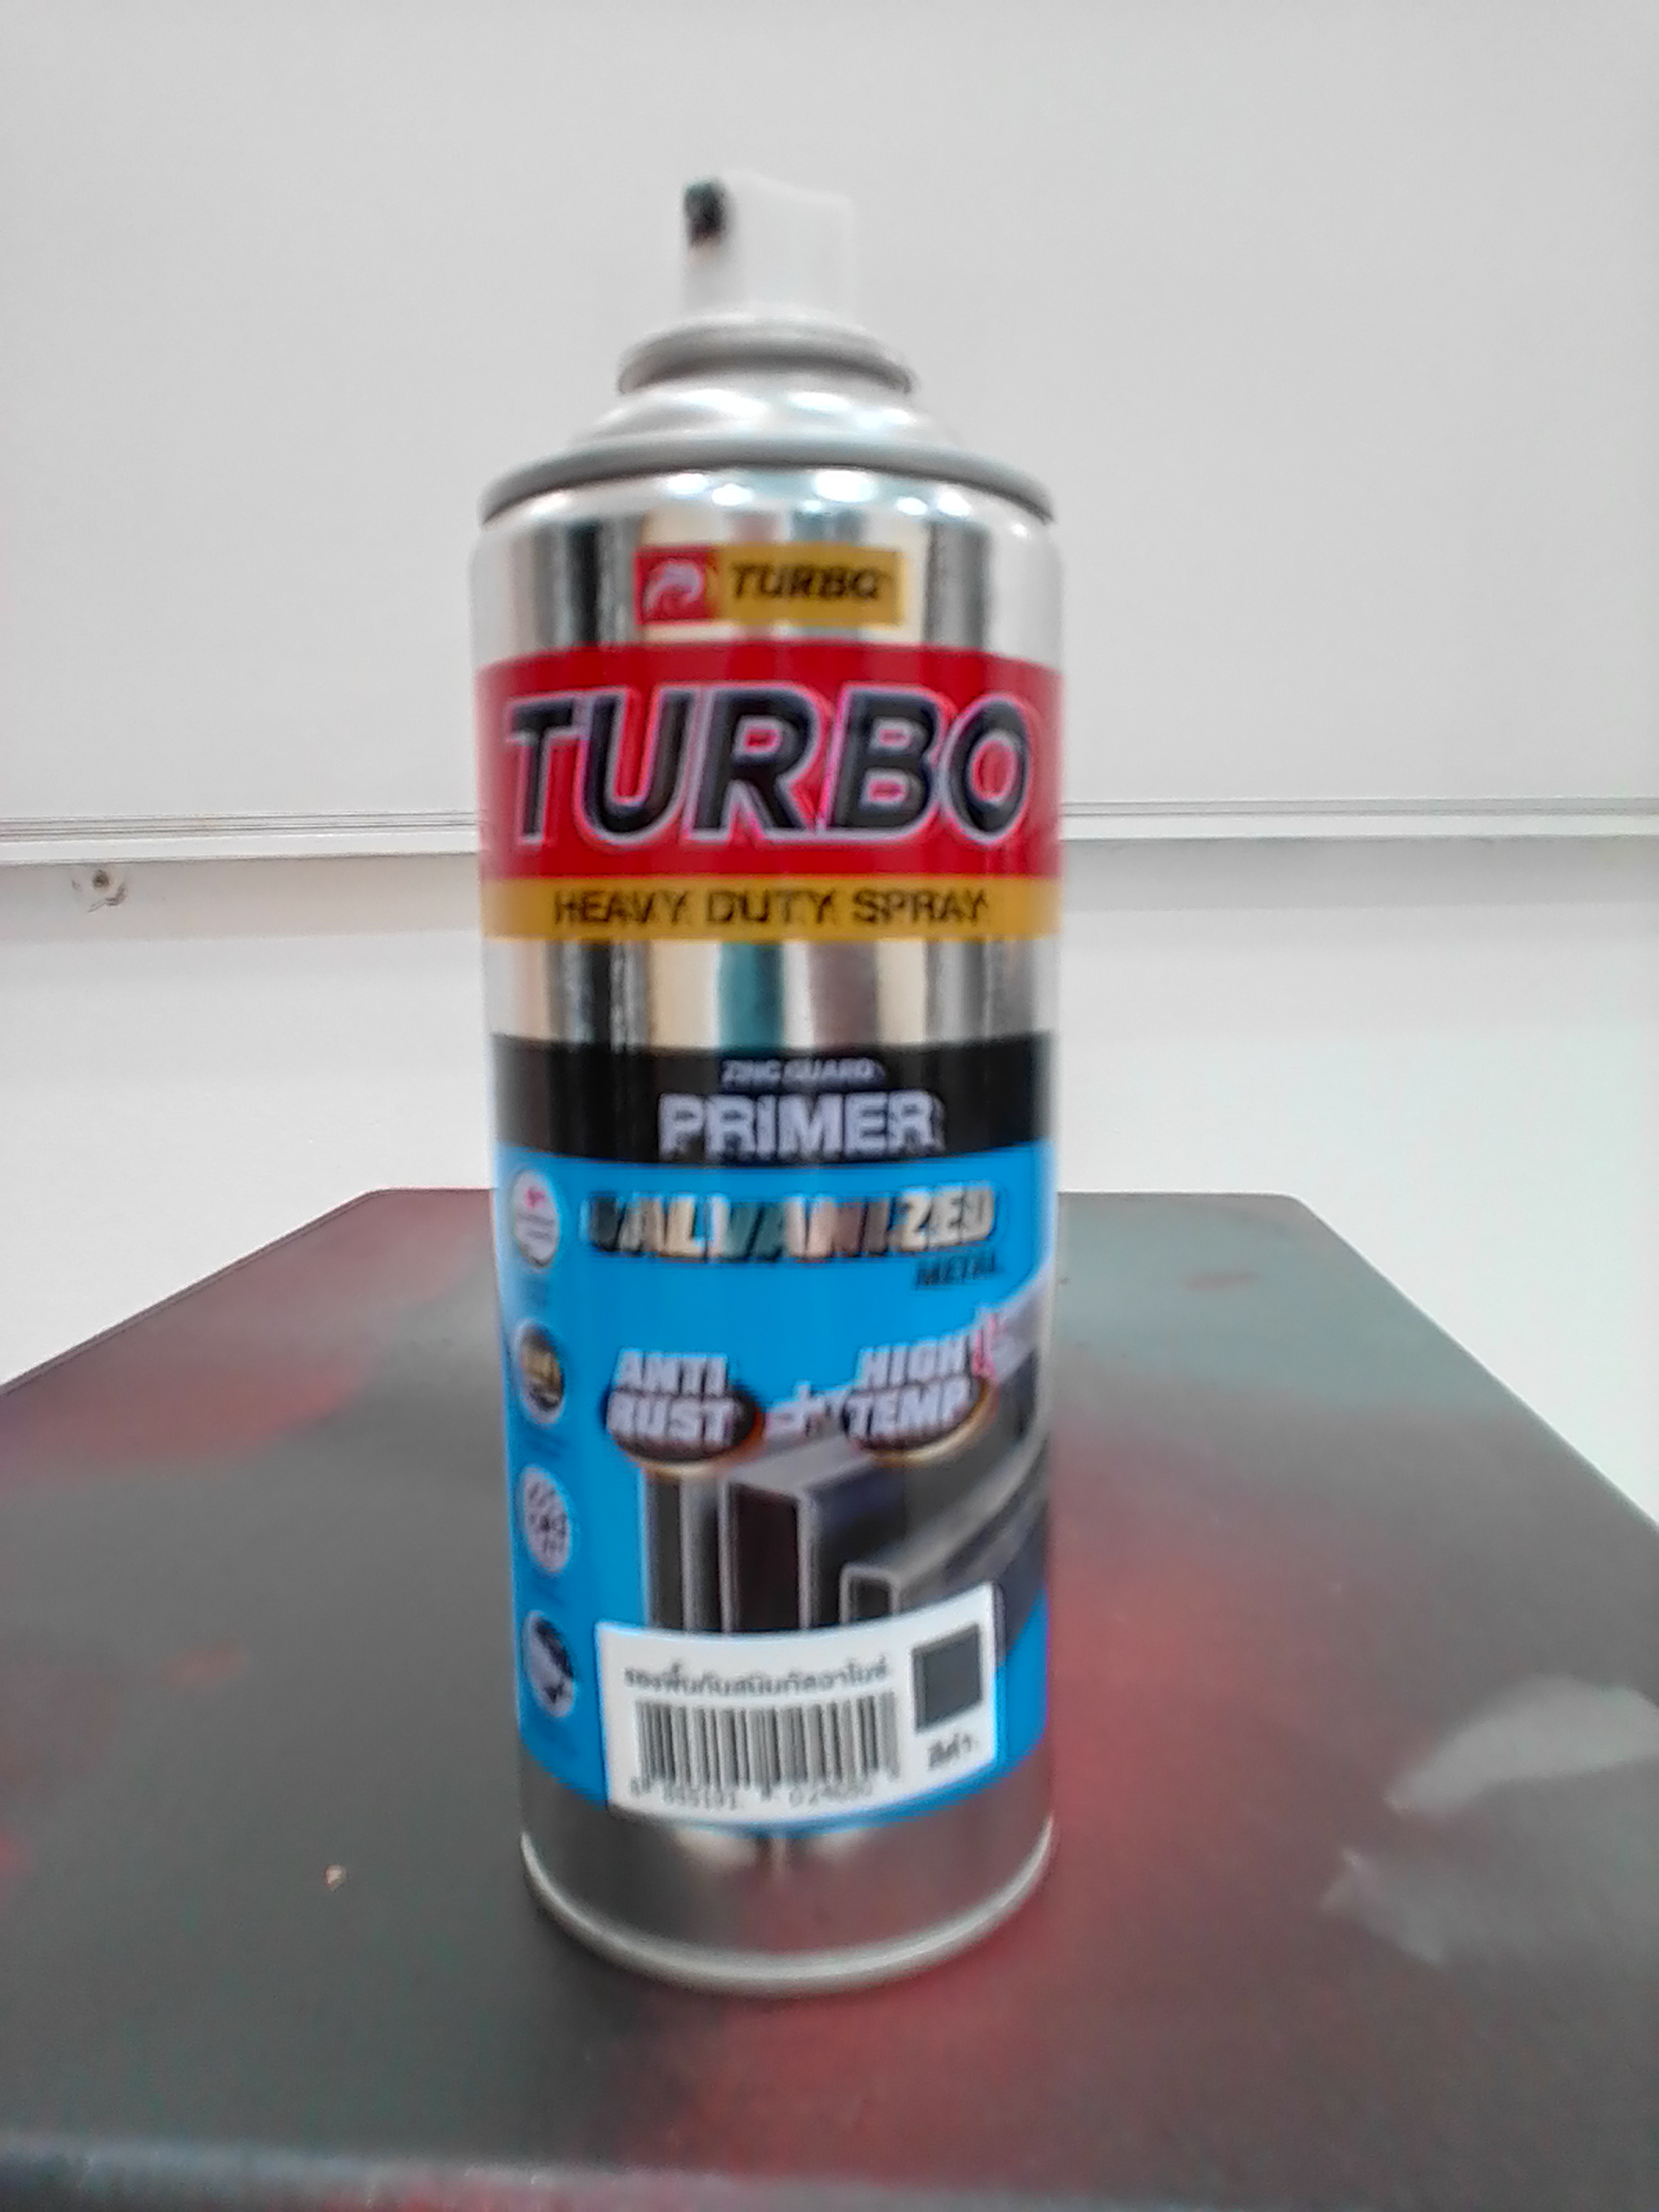
Sure mate. It's in a can & comes in two flavours. Standard Etch & prime. The other is the same but for hight temp applications. Have not seen it in a tin for spraying. But maybe could find it. Both are about 120tb a can.
-
1993 Yamaha Belle-R. Restoration thread.
Simple Jack replied to Simple Jack's topic in Motorcycles in Thailand
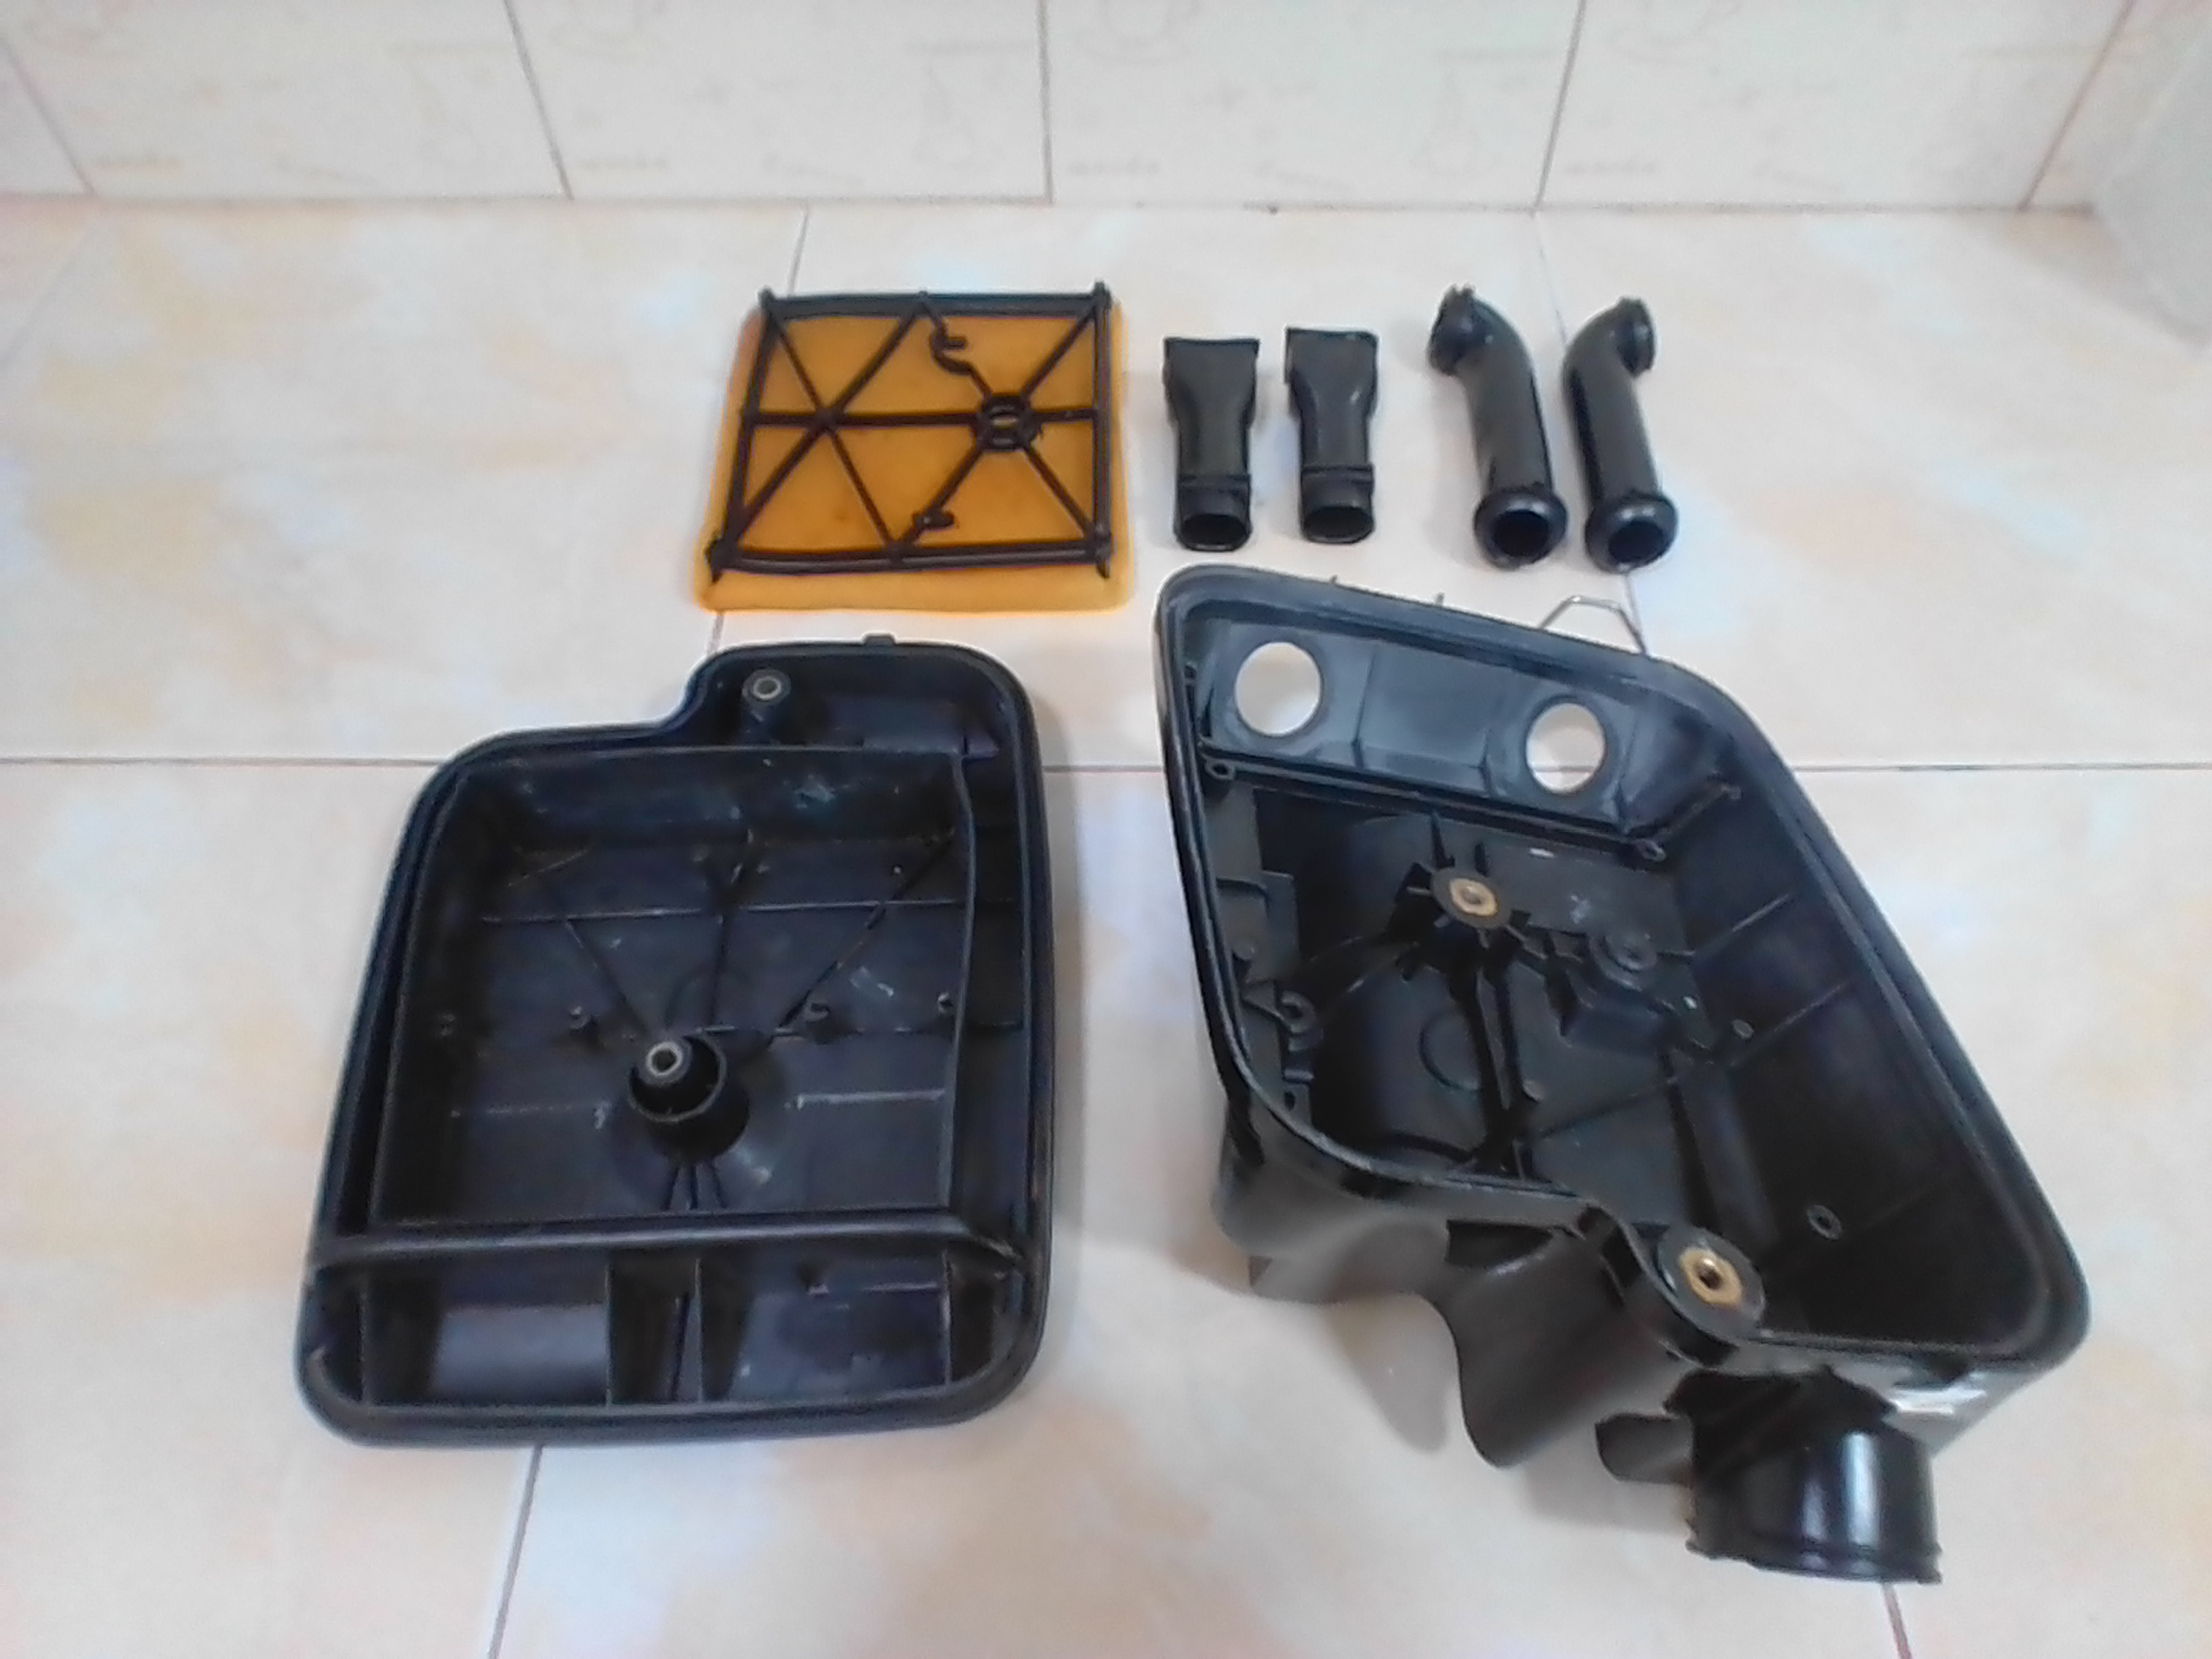
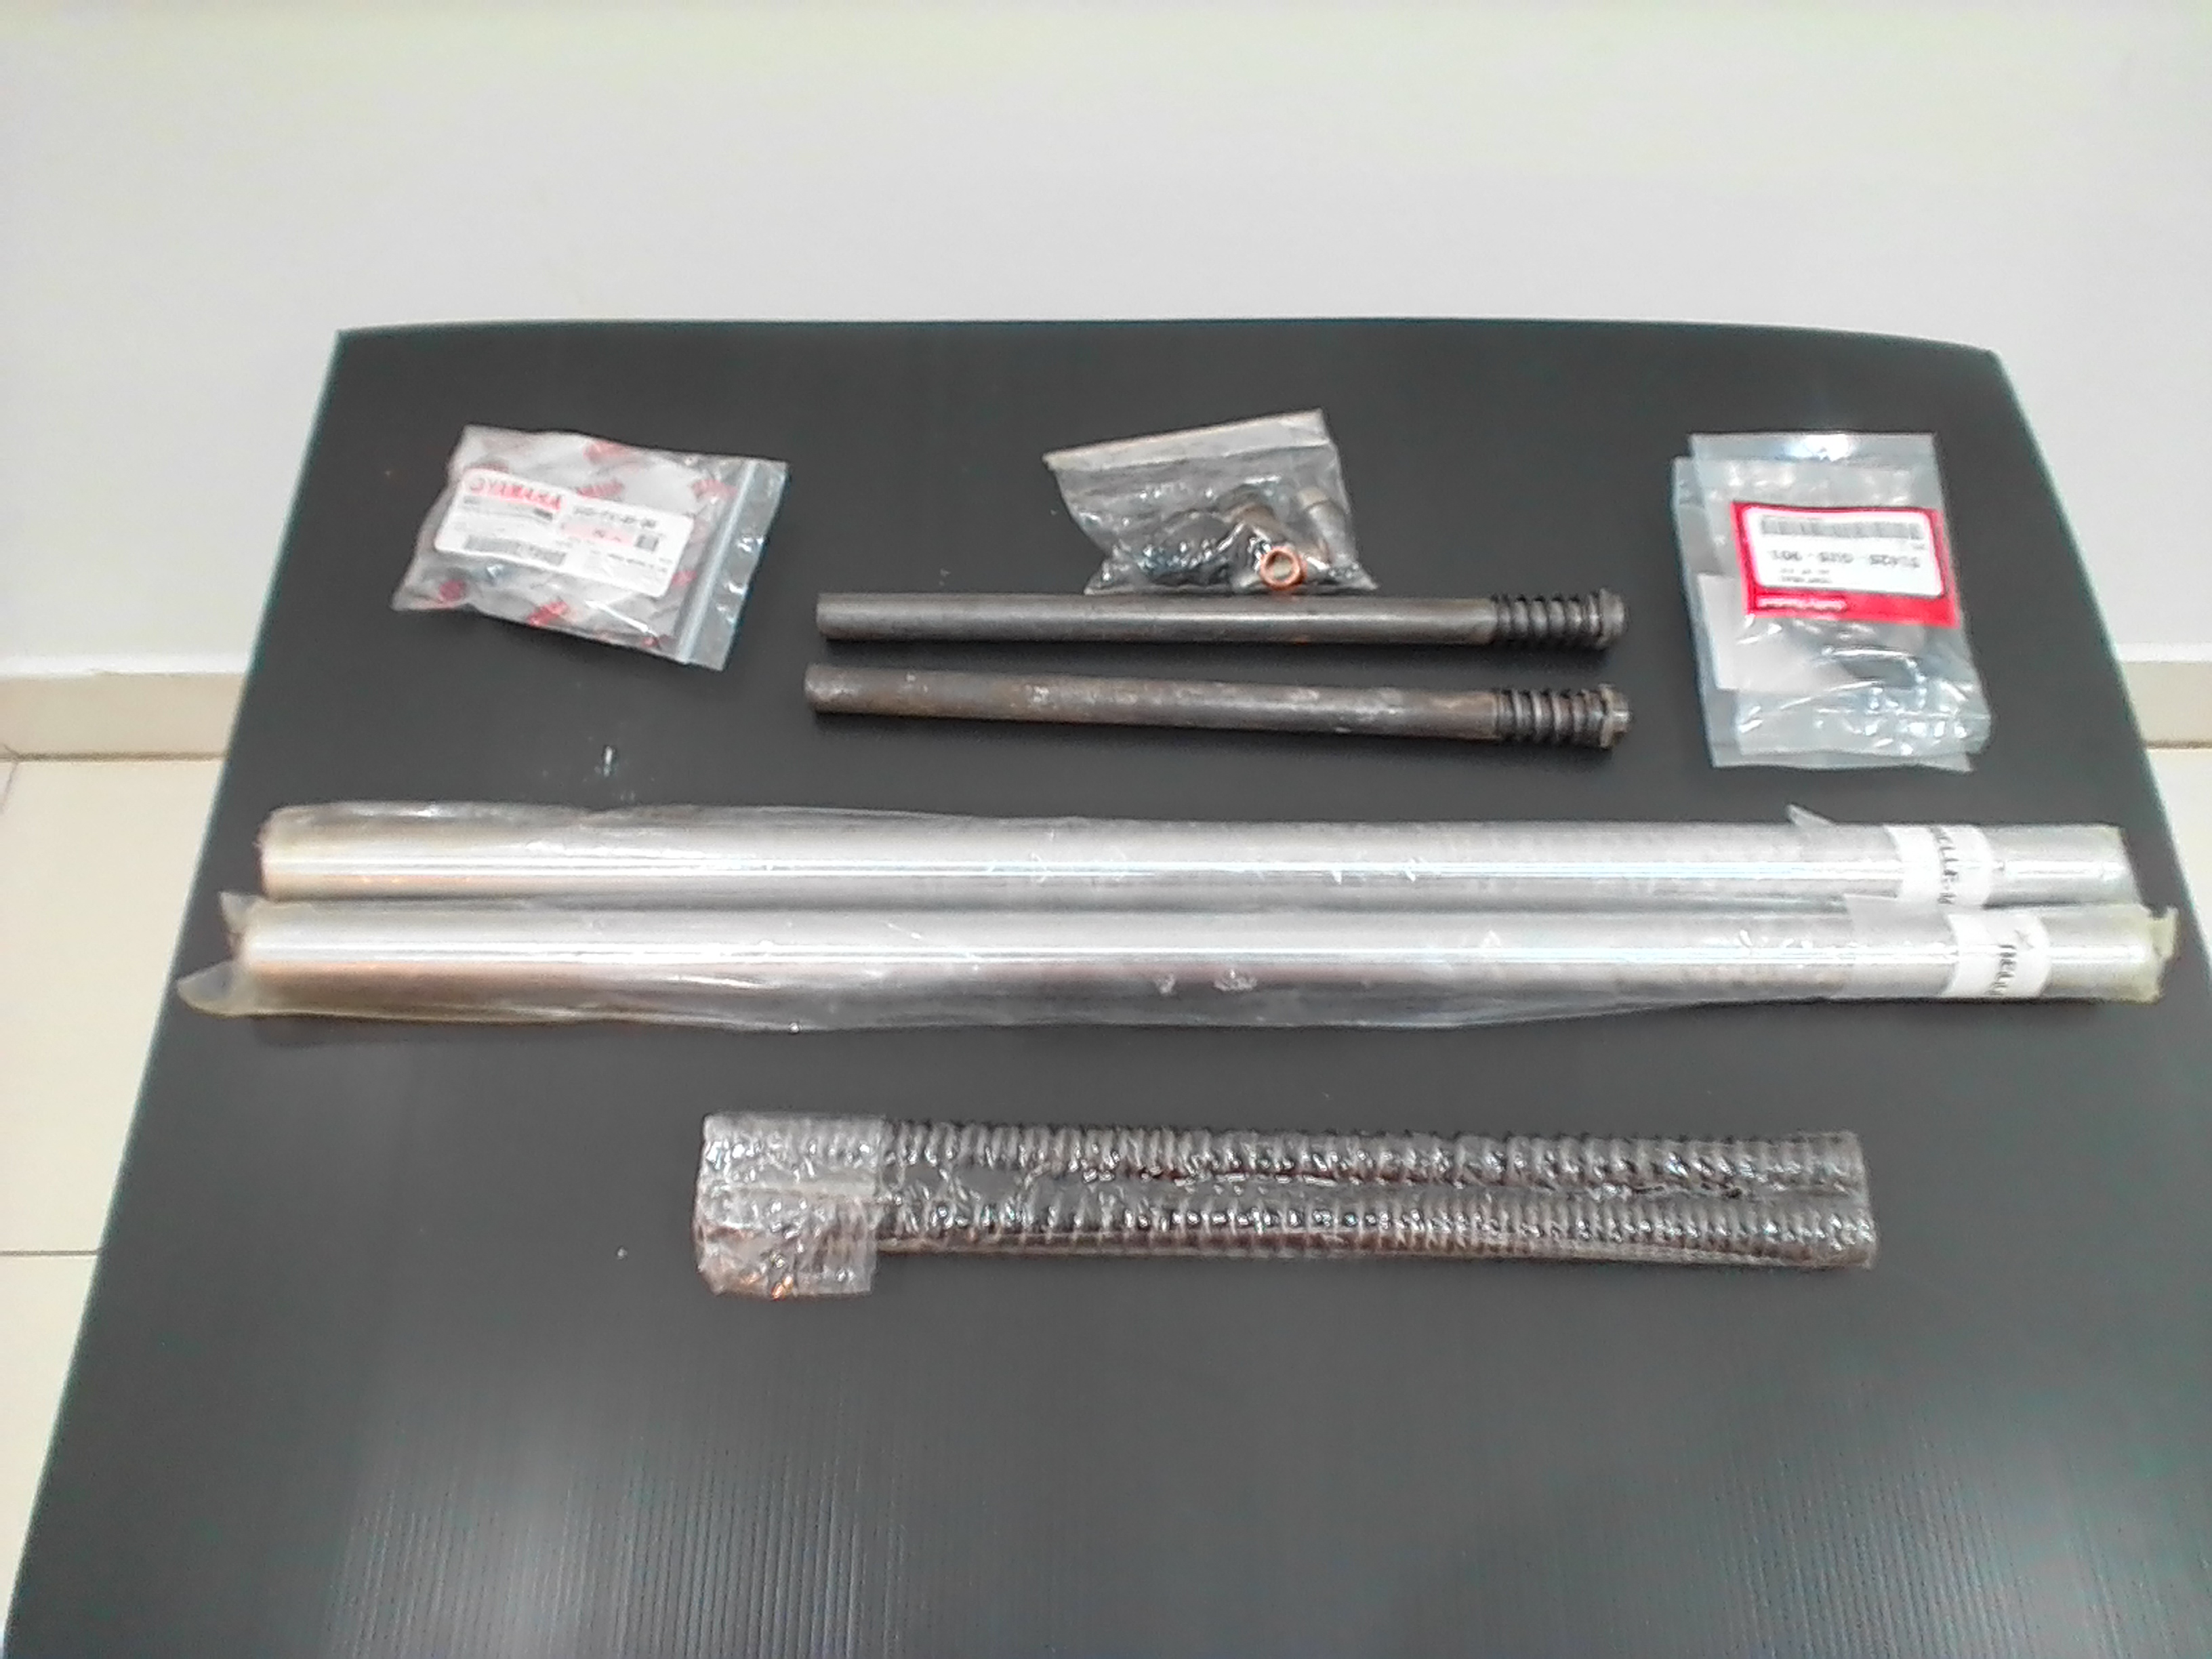
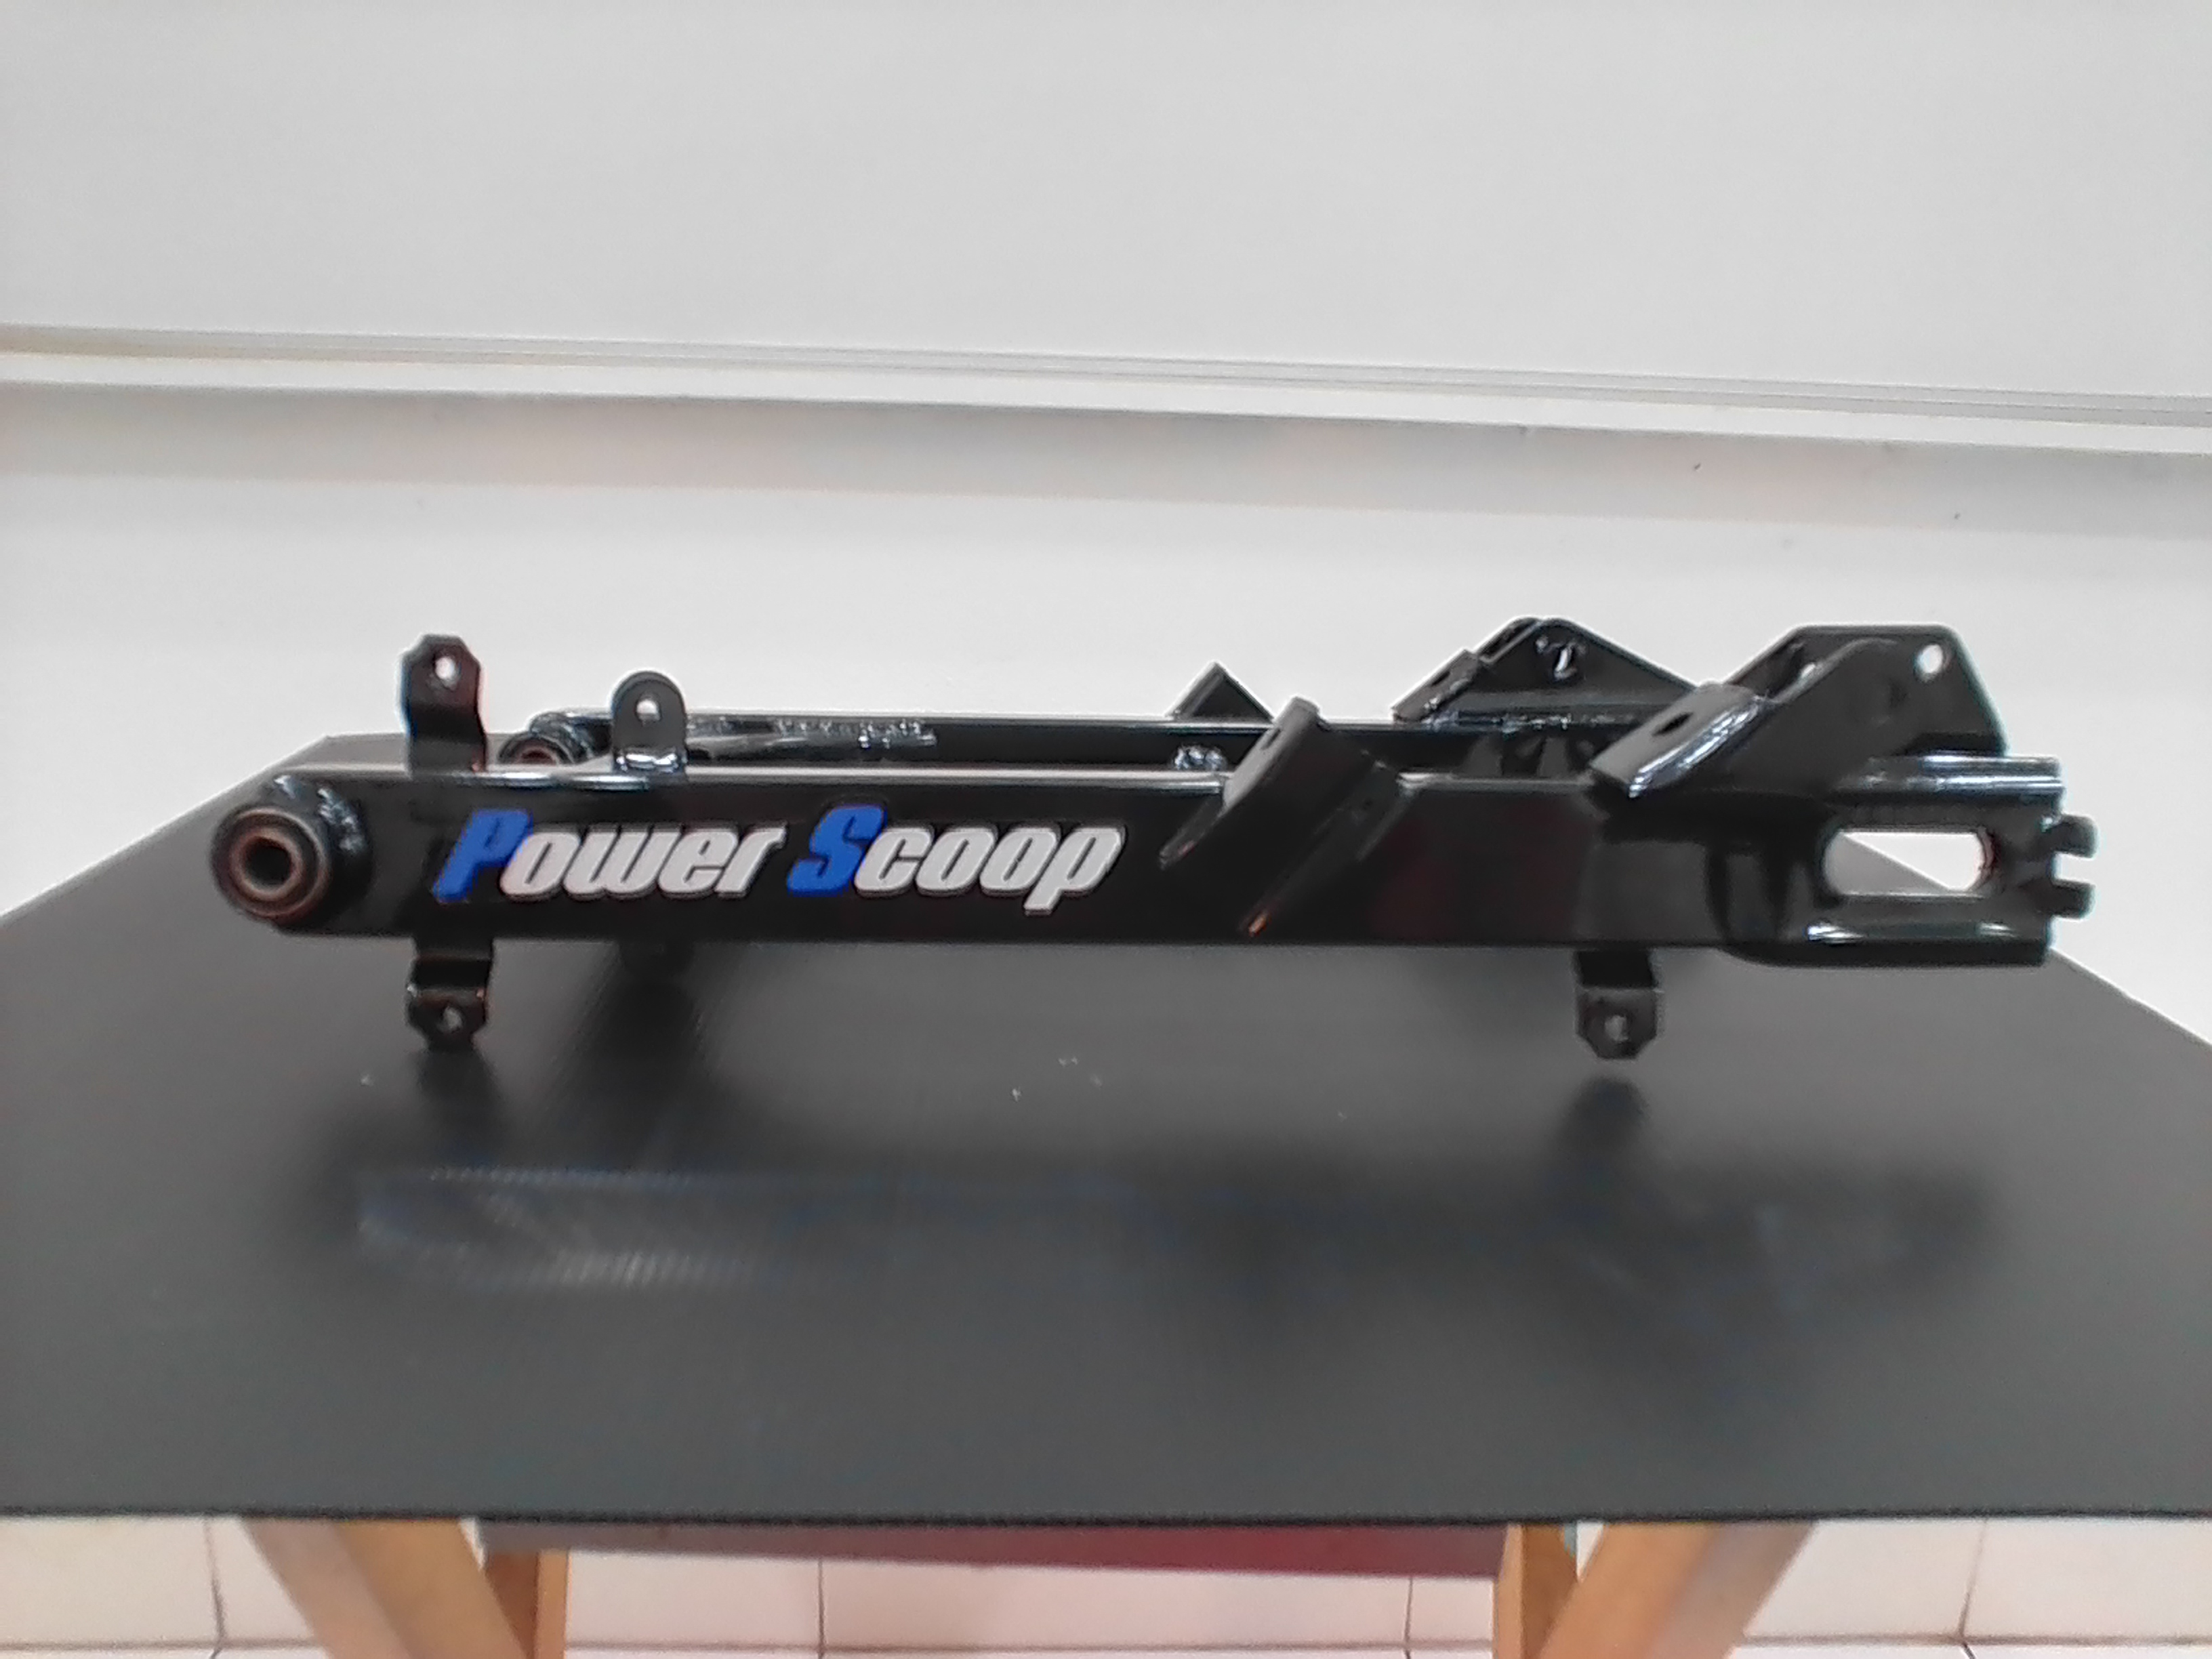
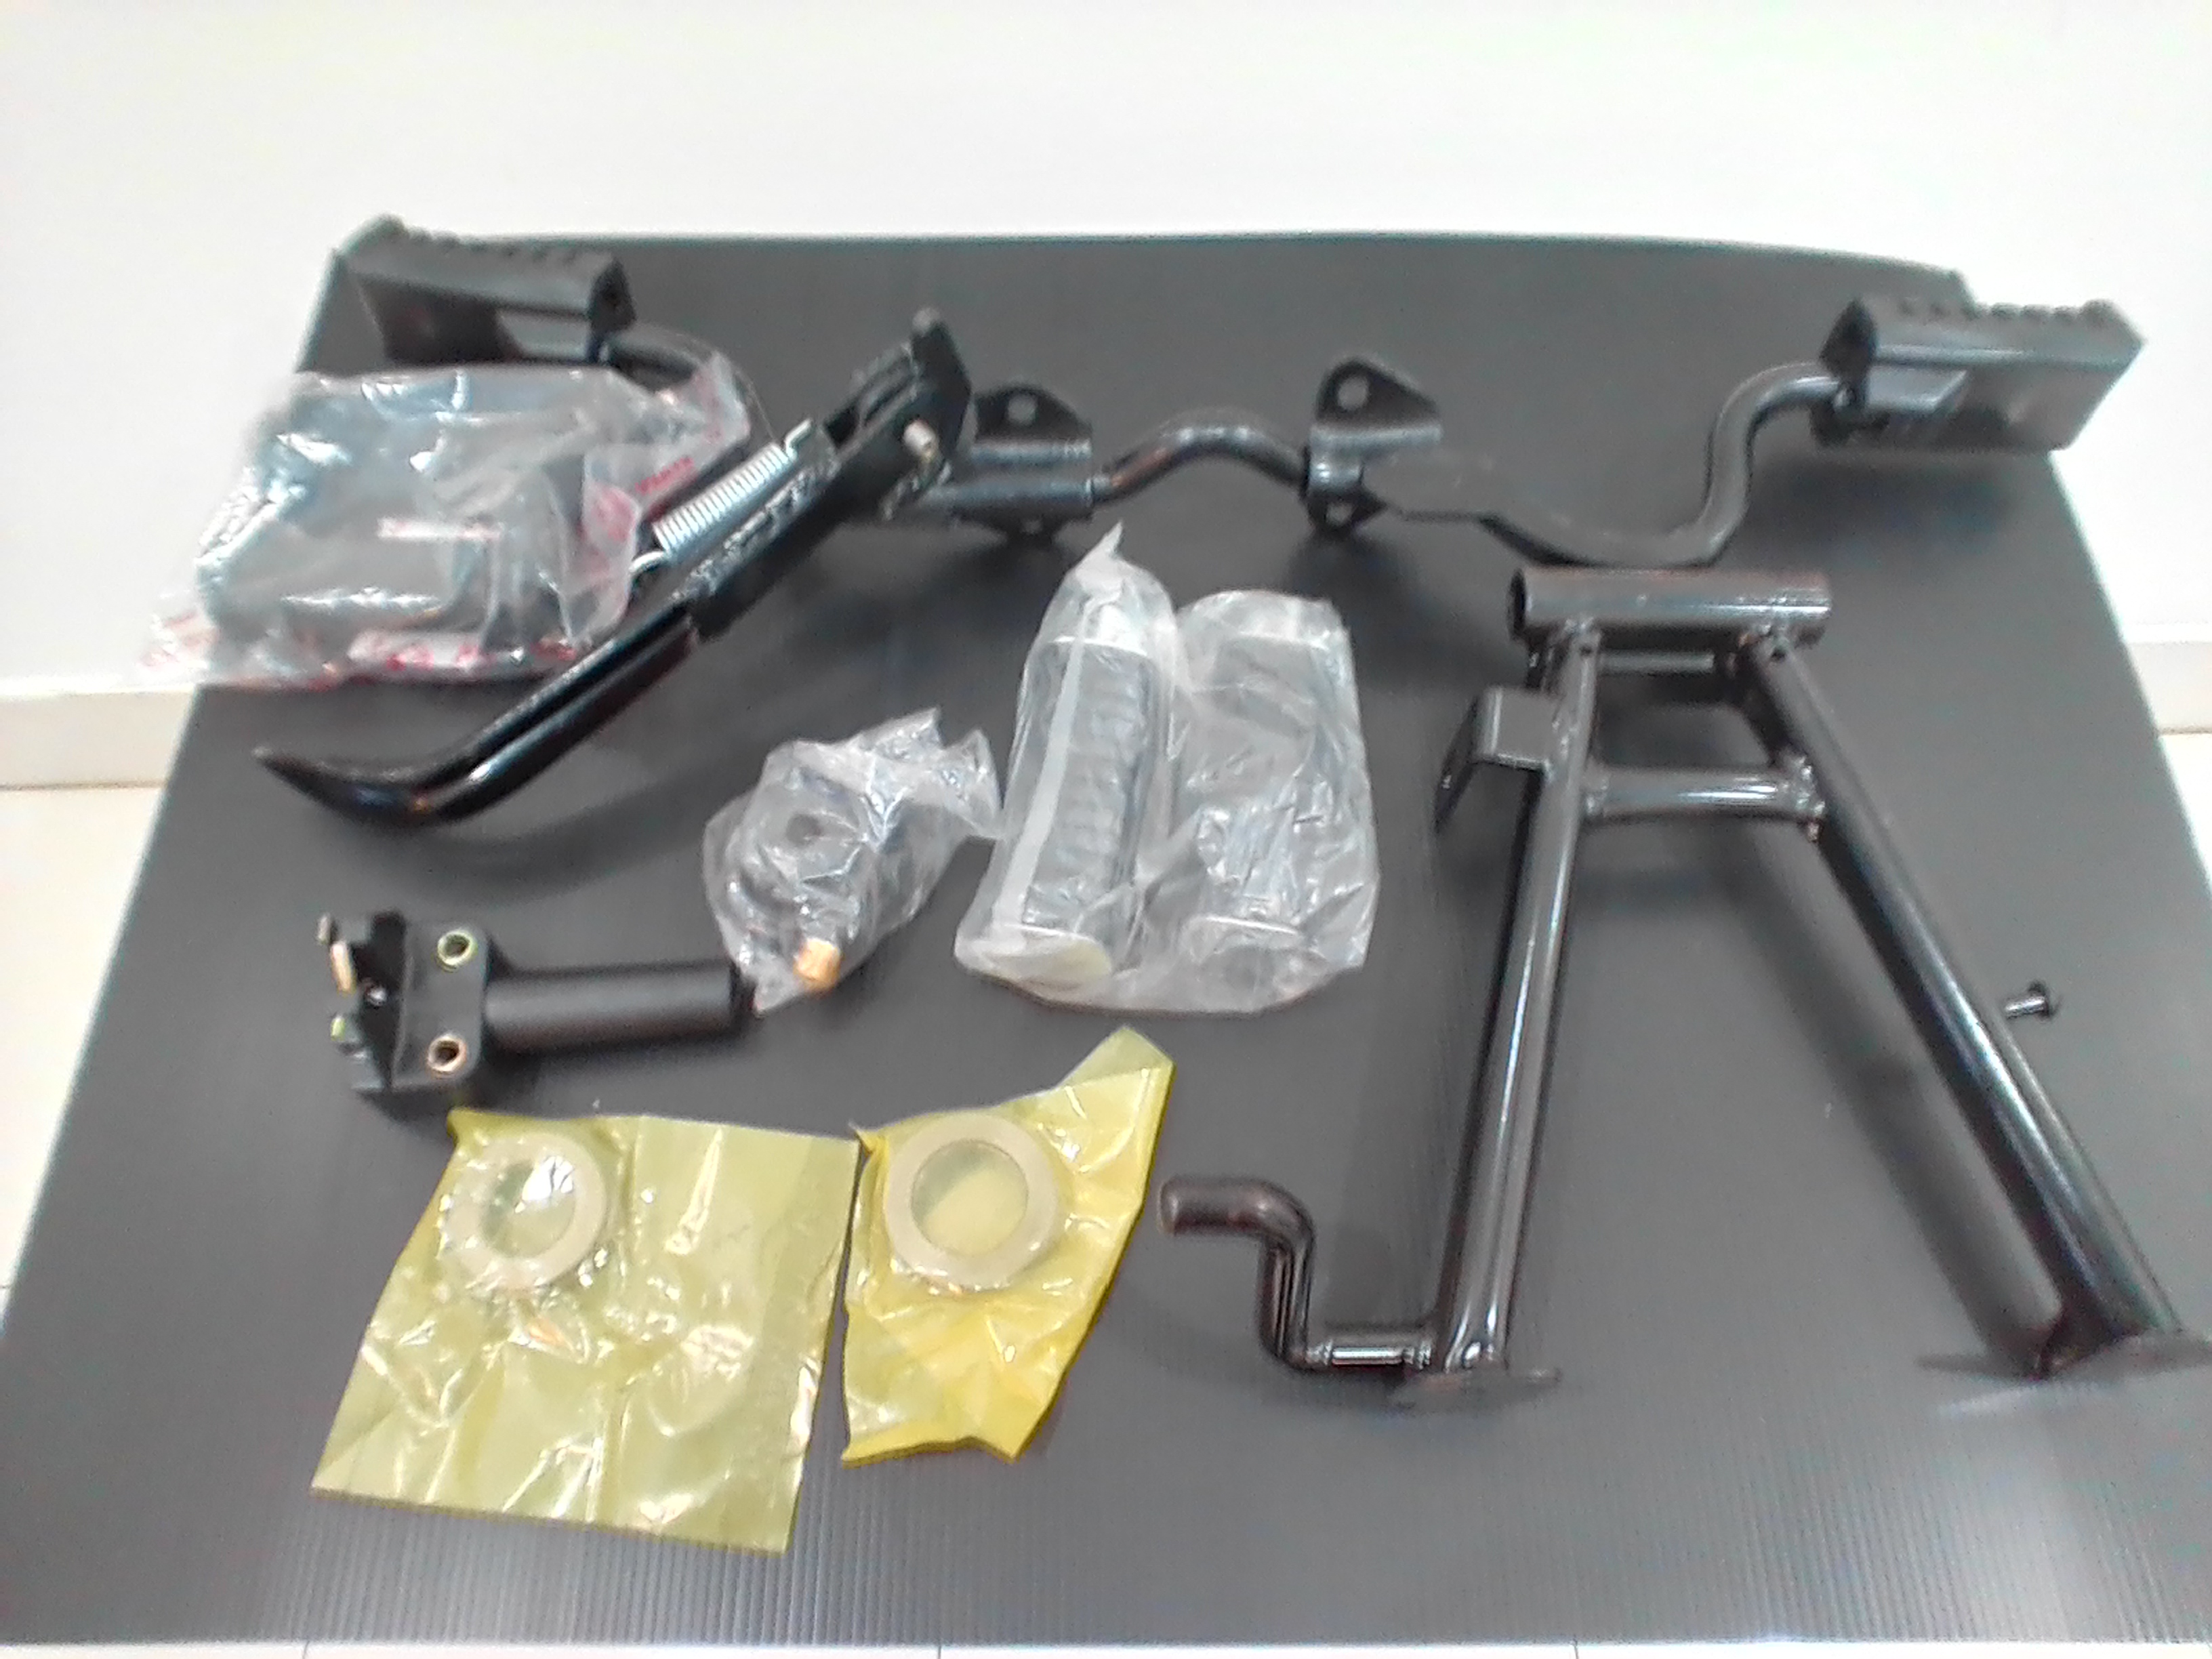
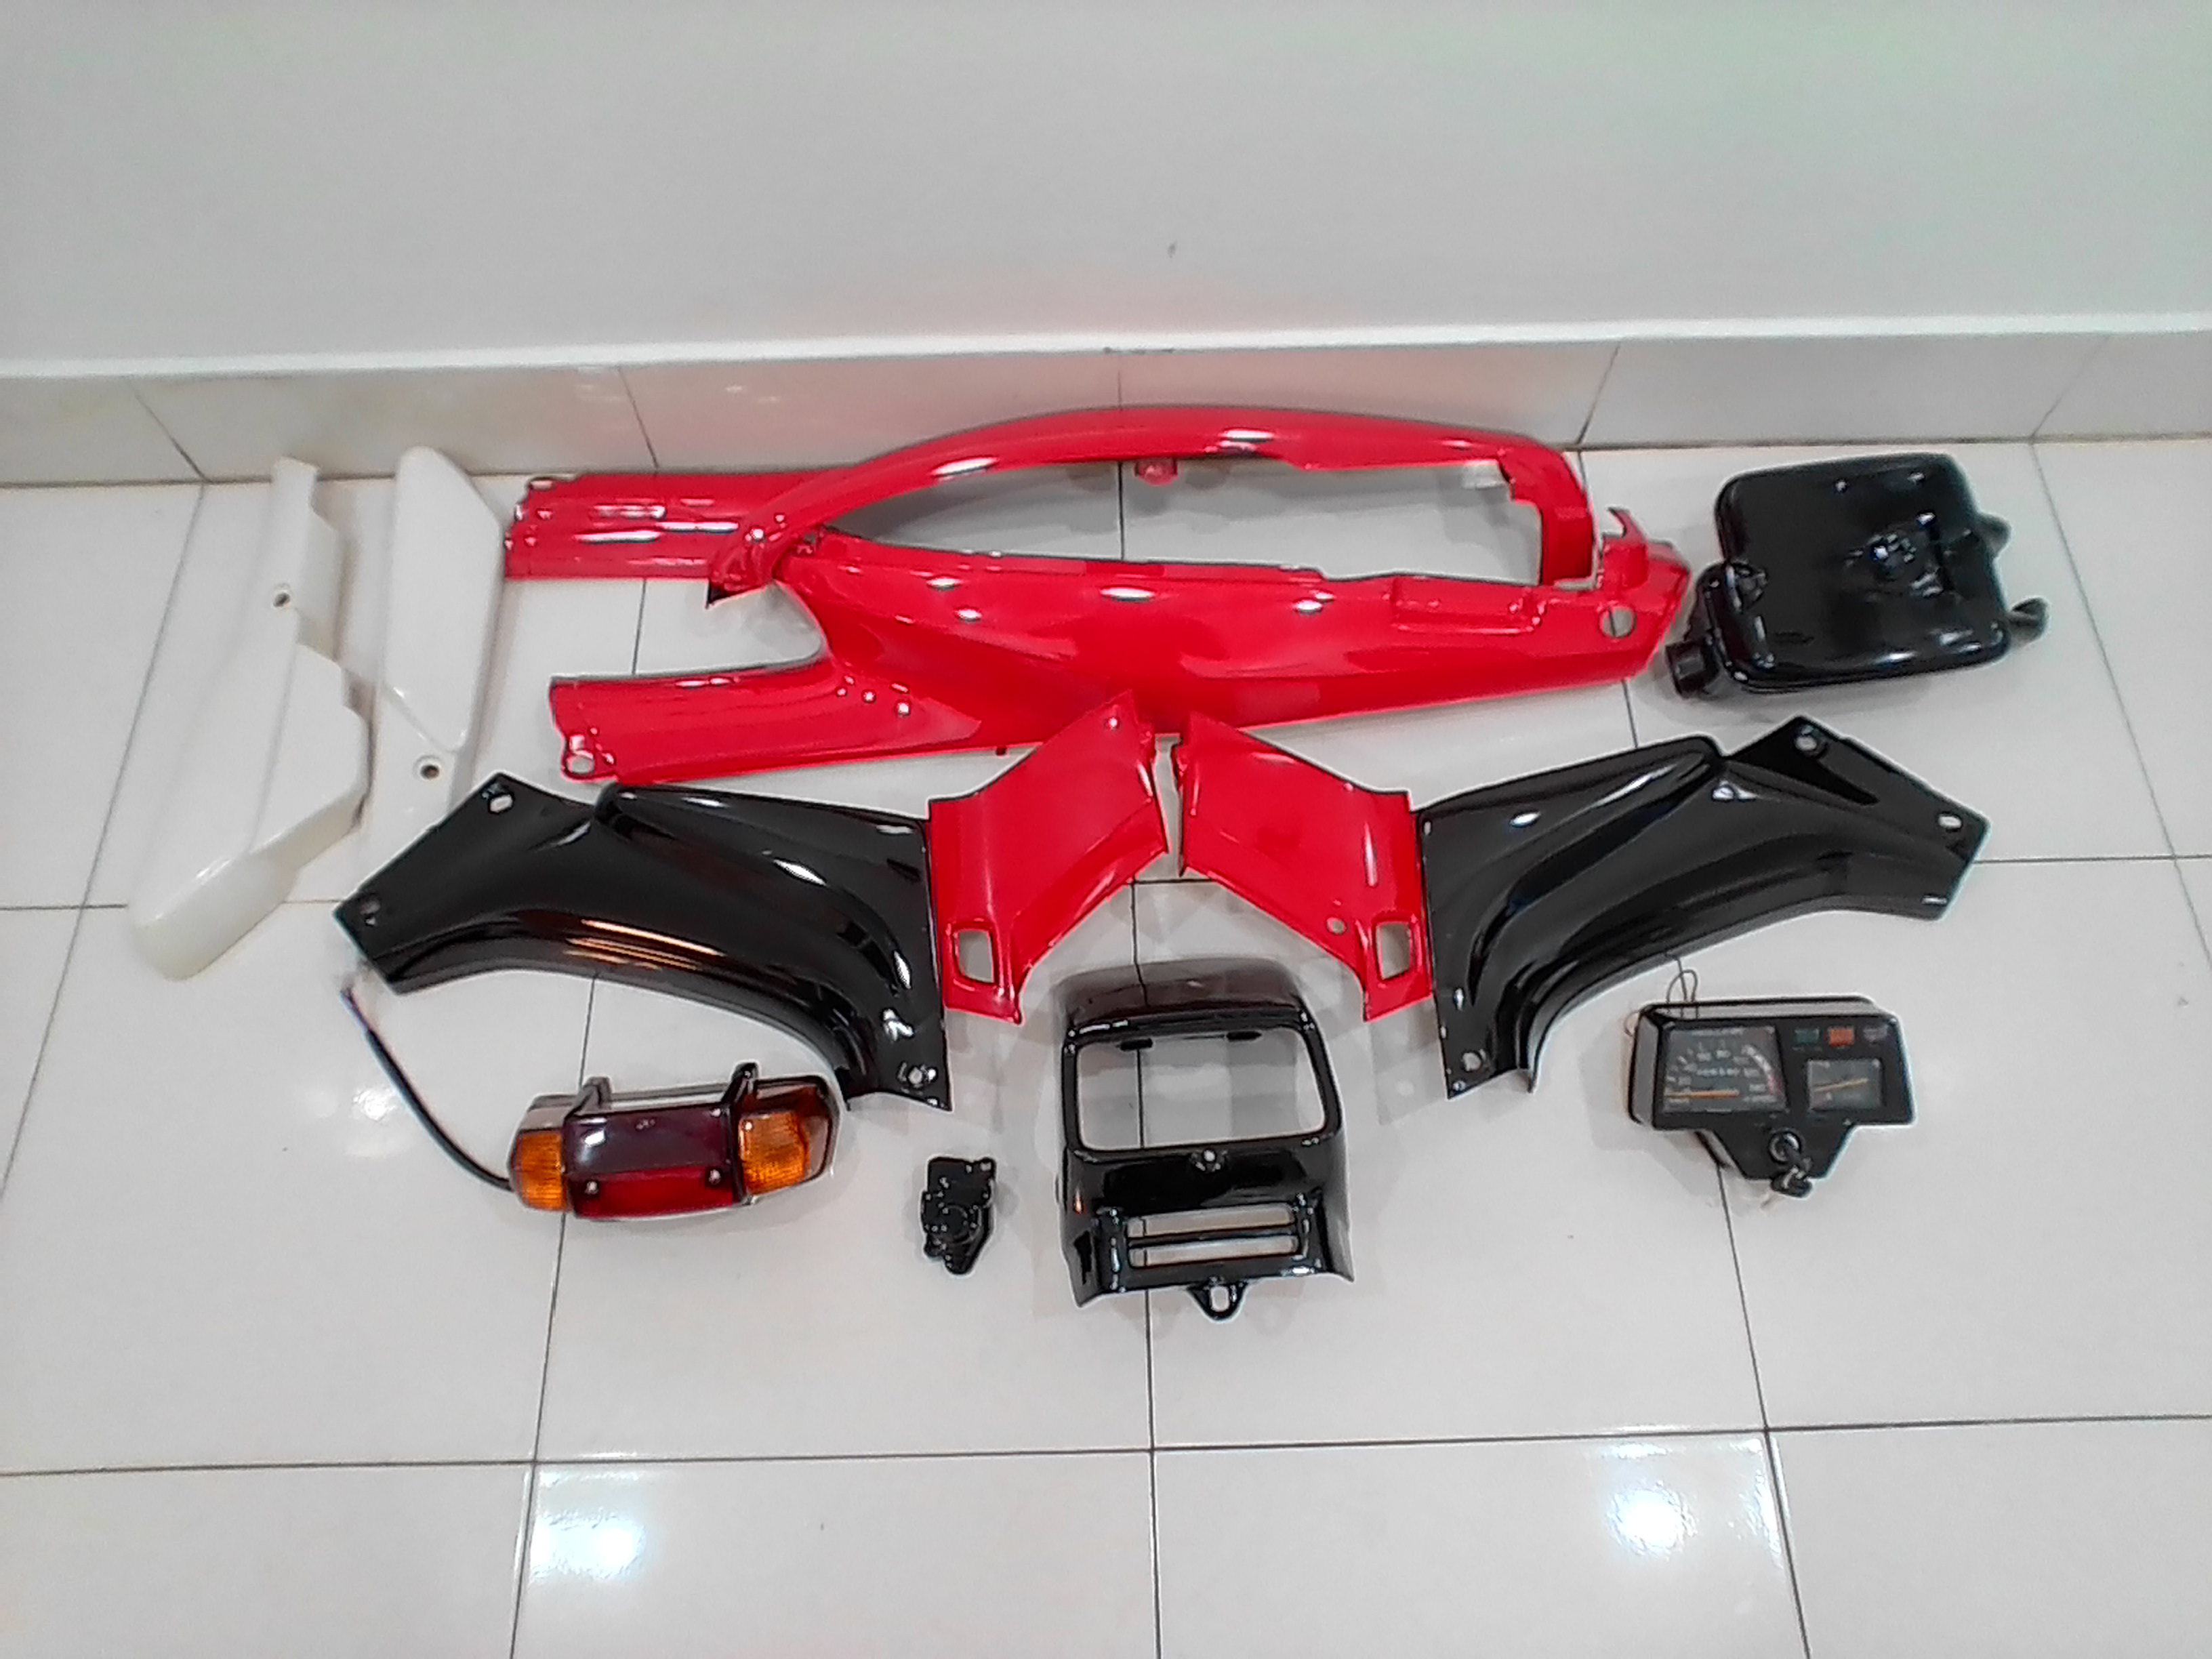
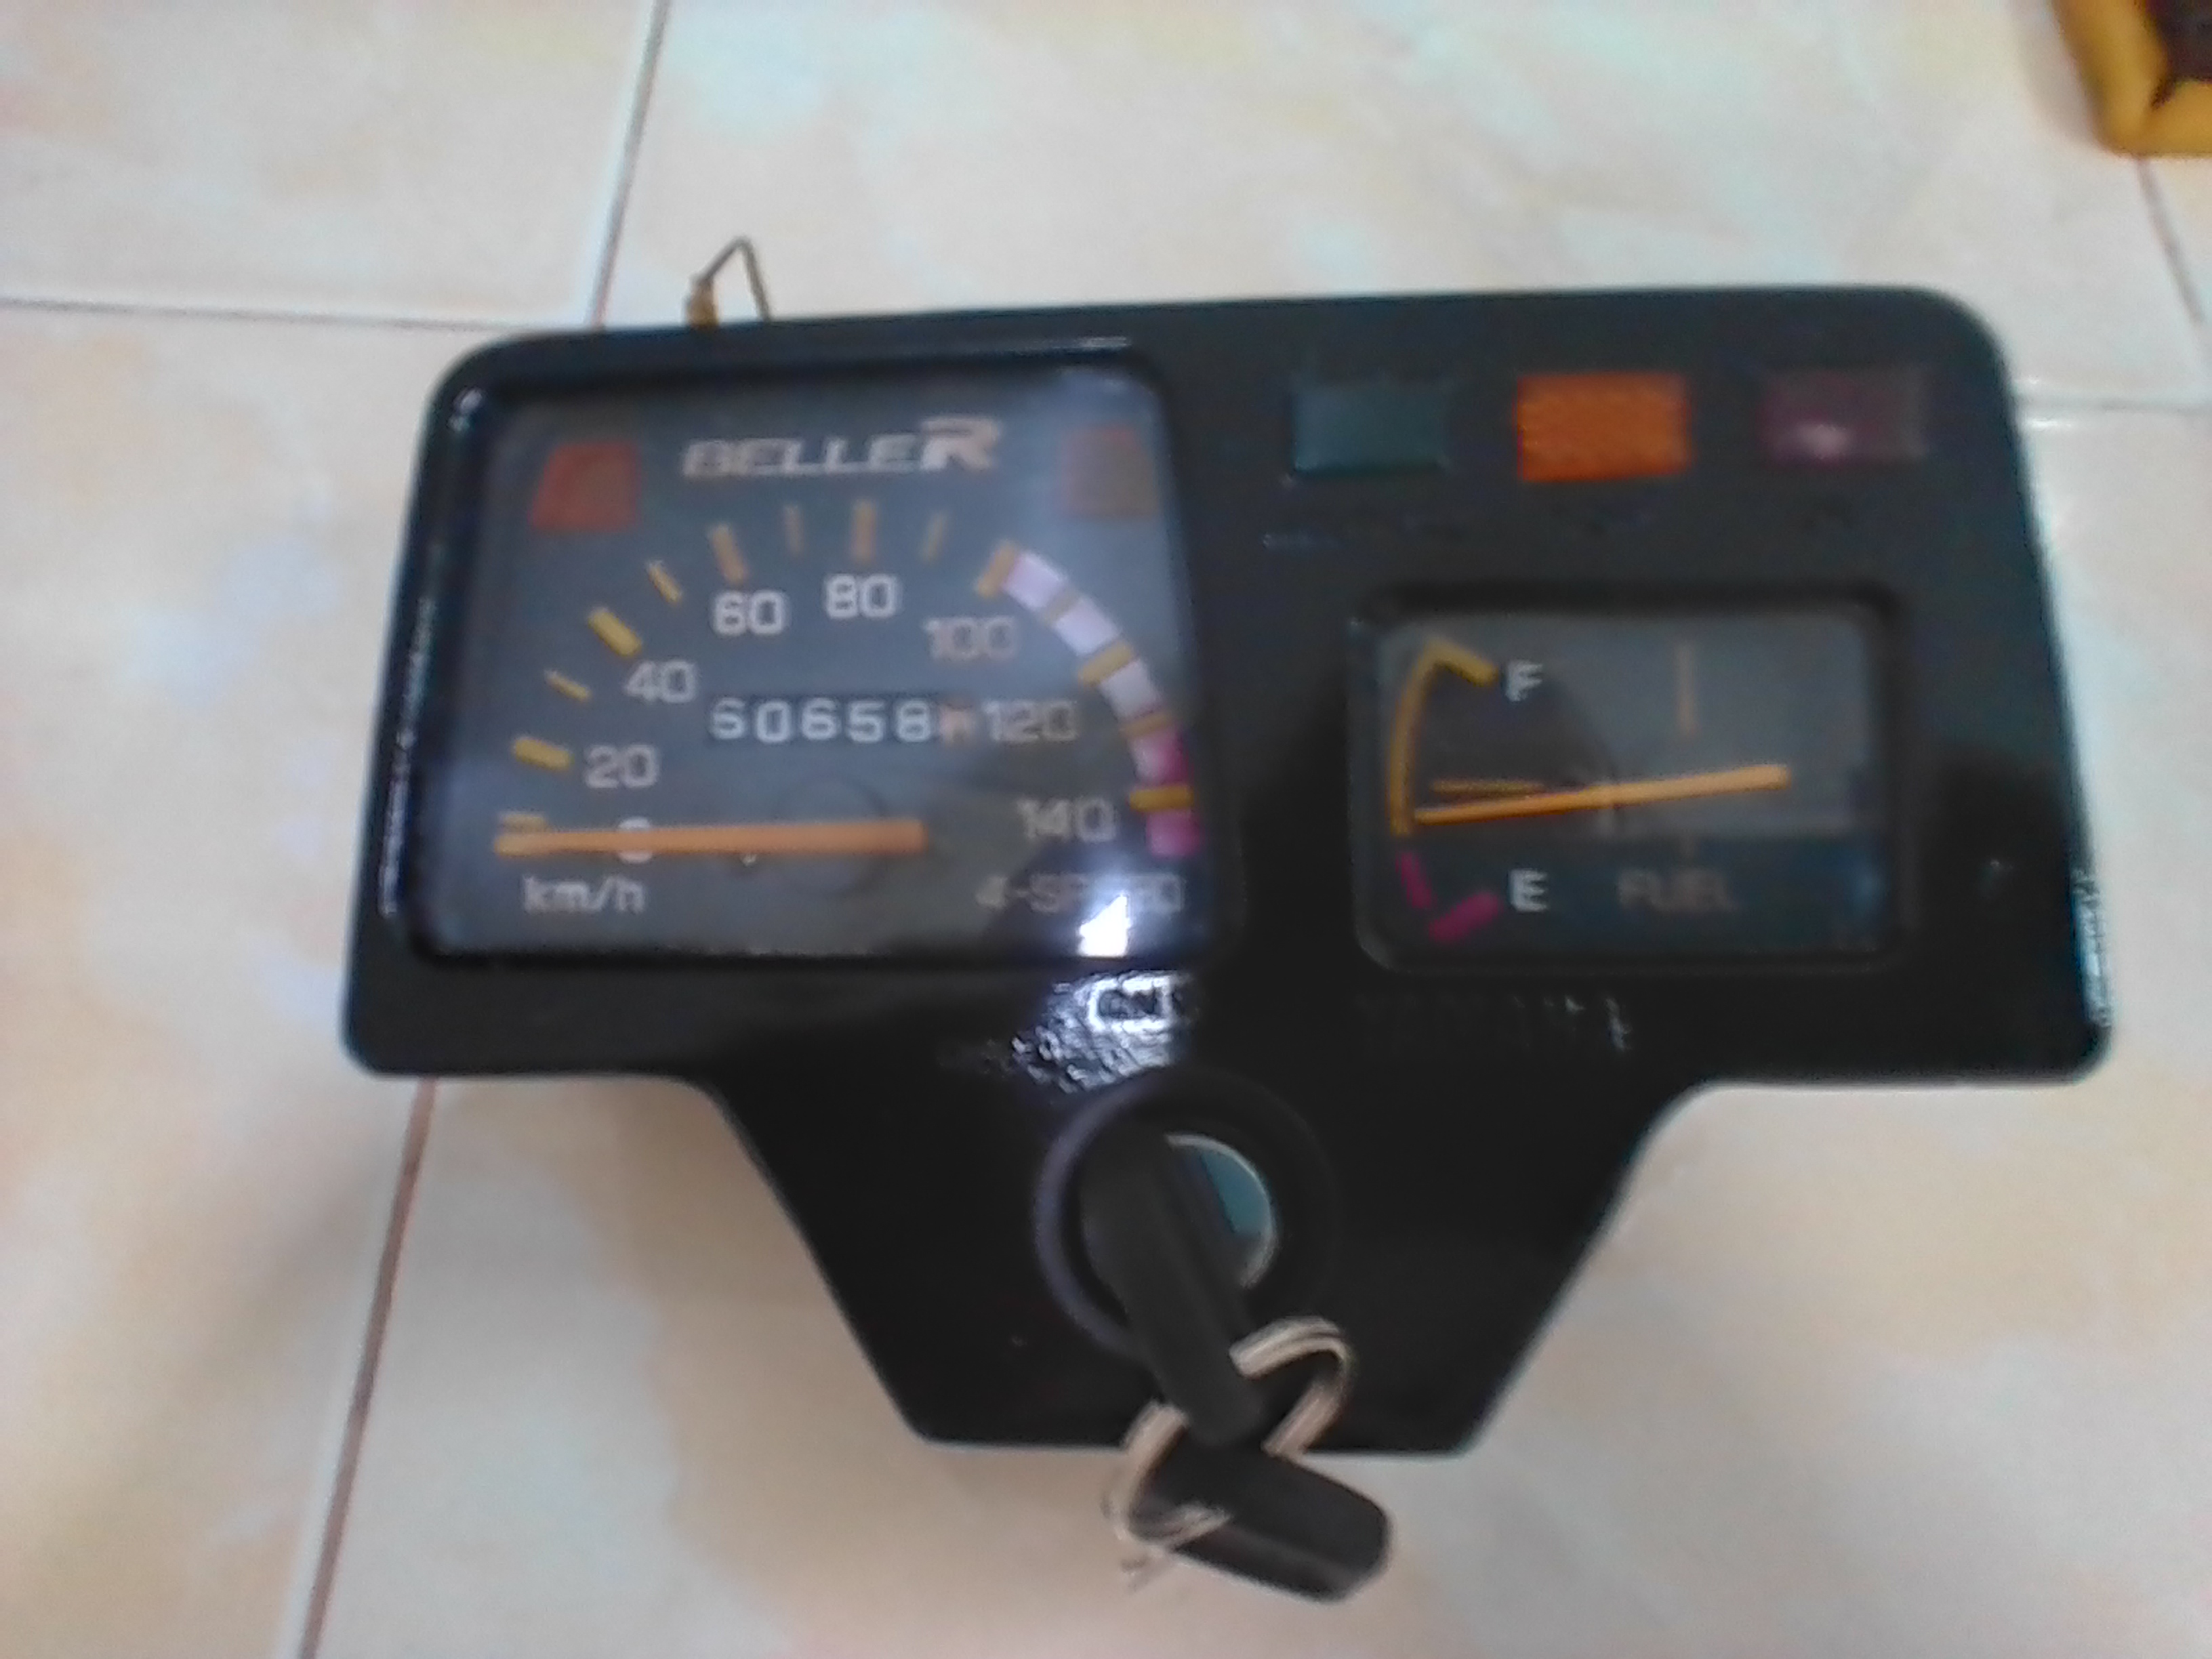
Some pics. Missed some smaller items. like back brake sensor & numerous misc cleaned bolts ect. Hope it gives an idea of how things are going. Cheers all!
-
1993 Yamaha Belle-R. Restoration thread.
Simple Jack replied to Simple Jack's topic in Motorcycles in Thailand
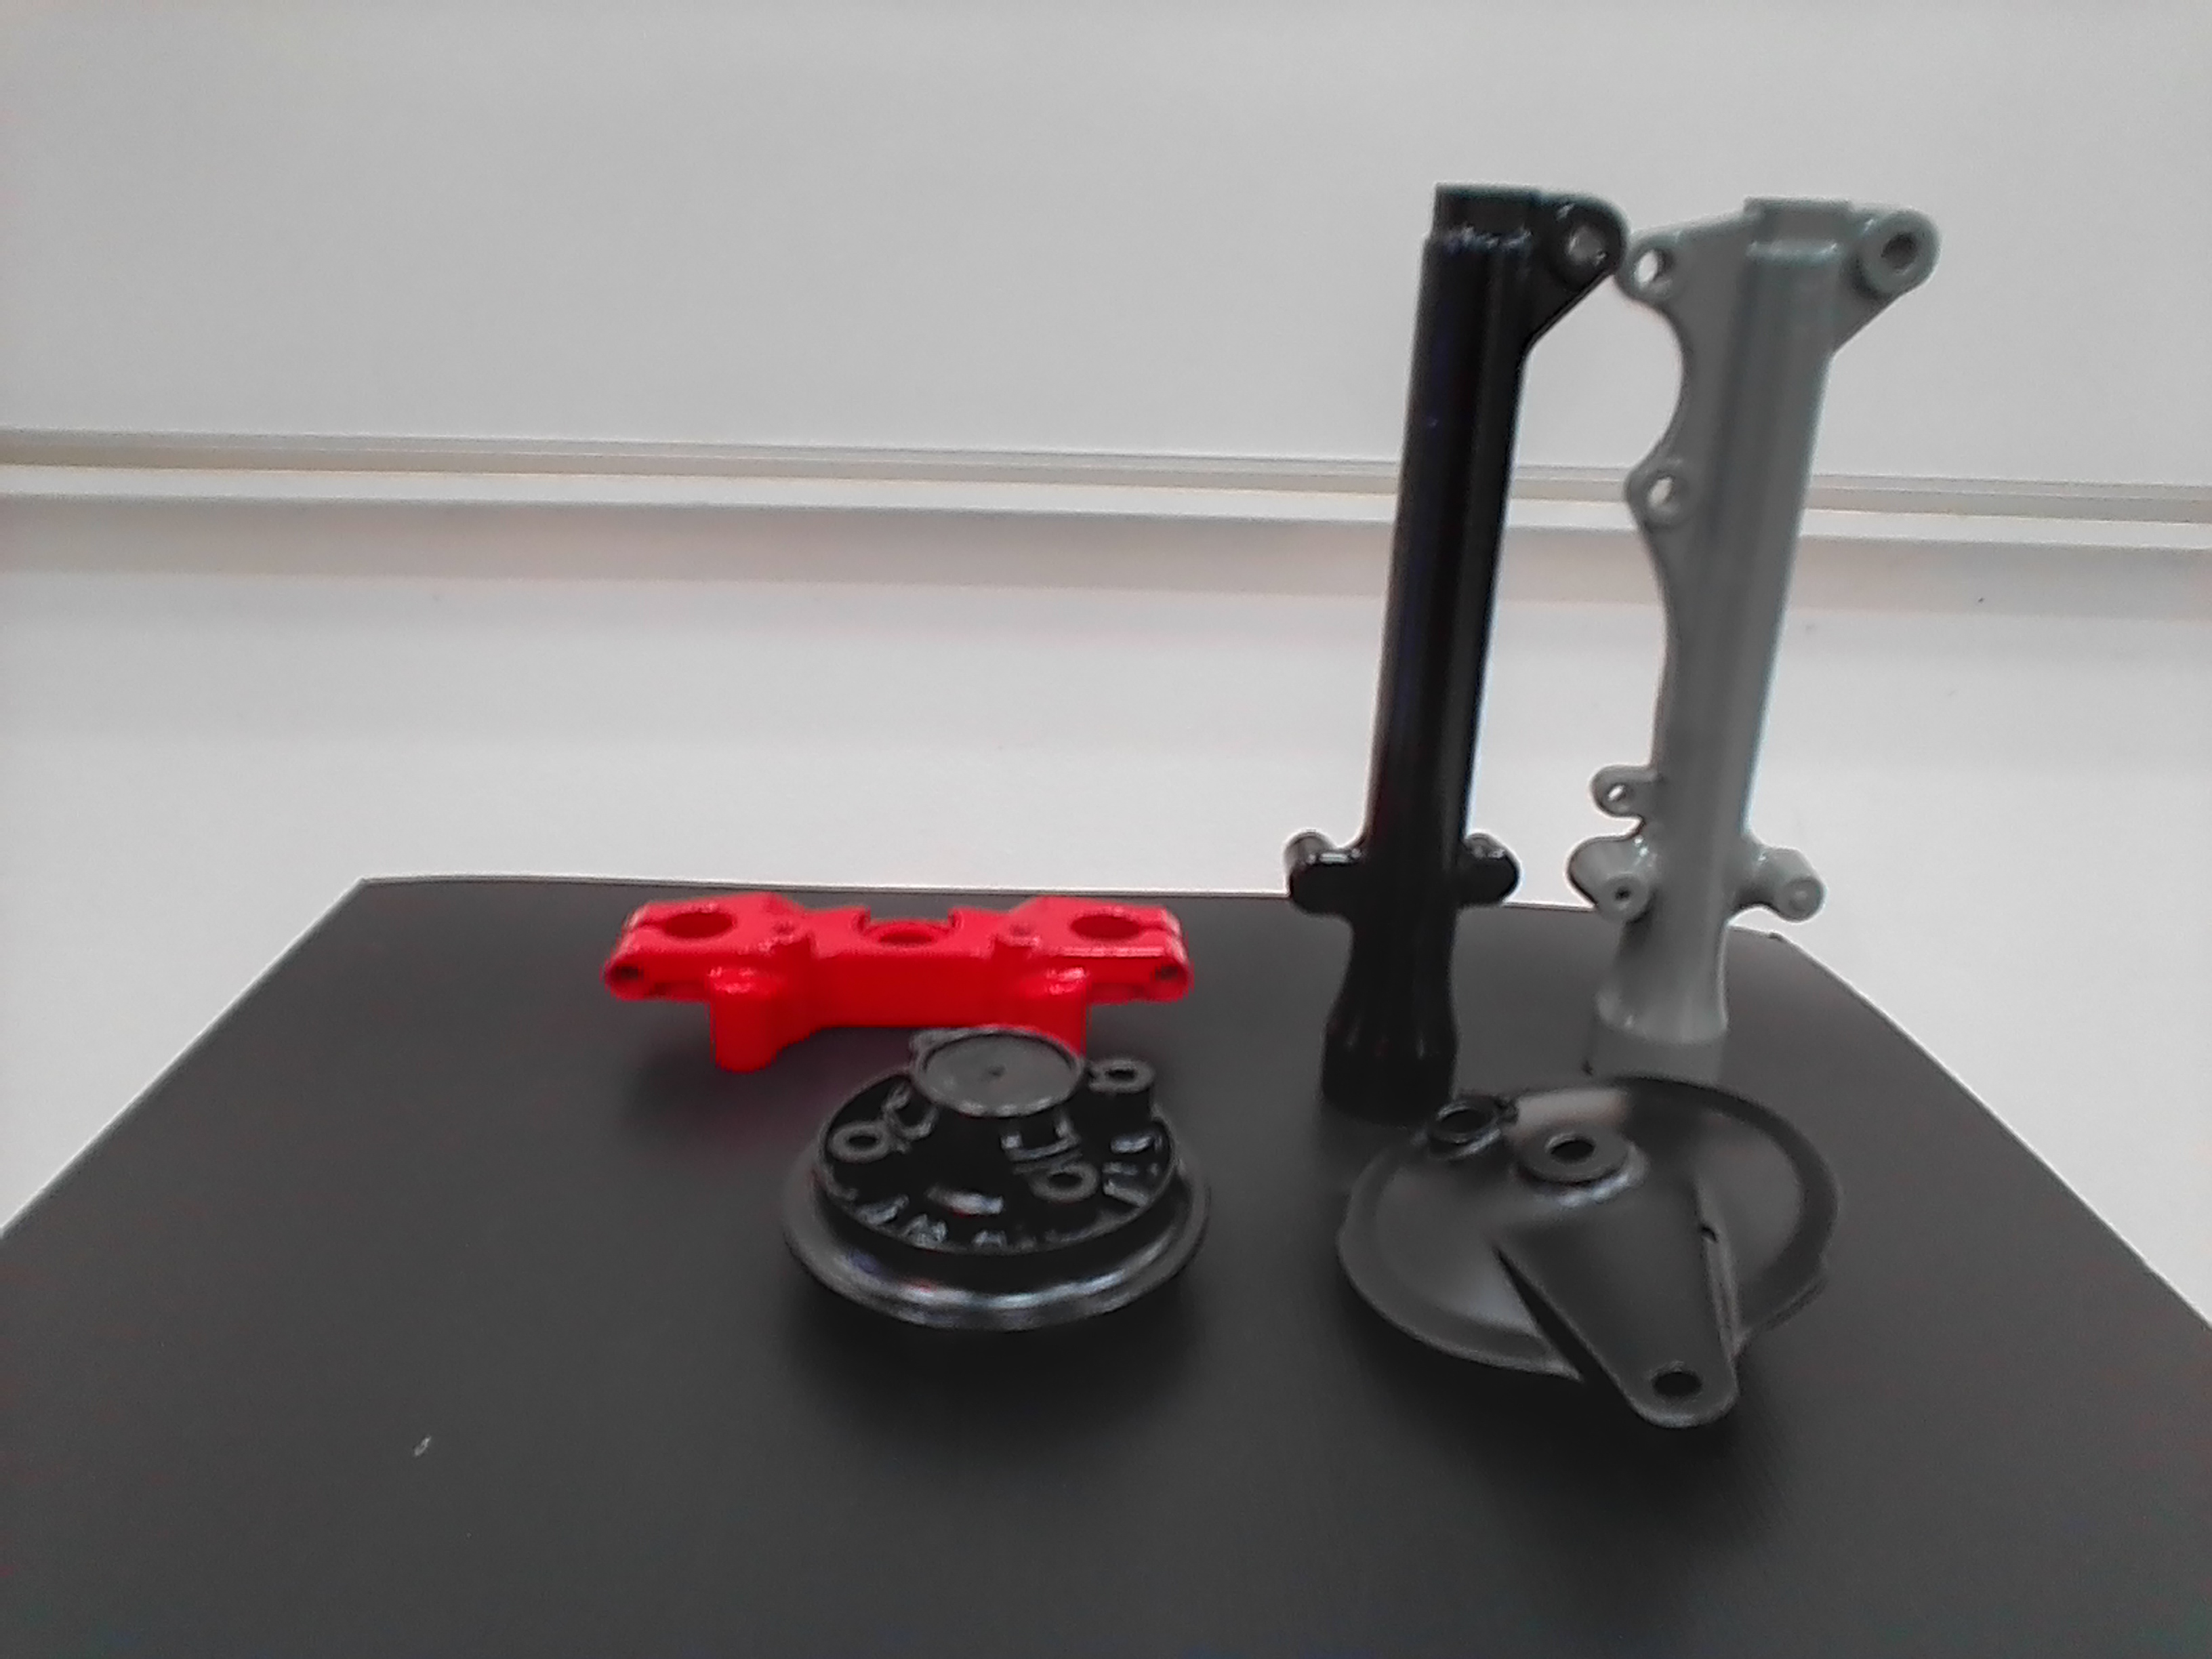
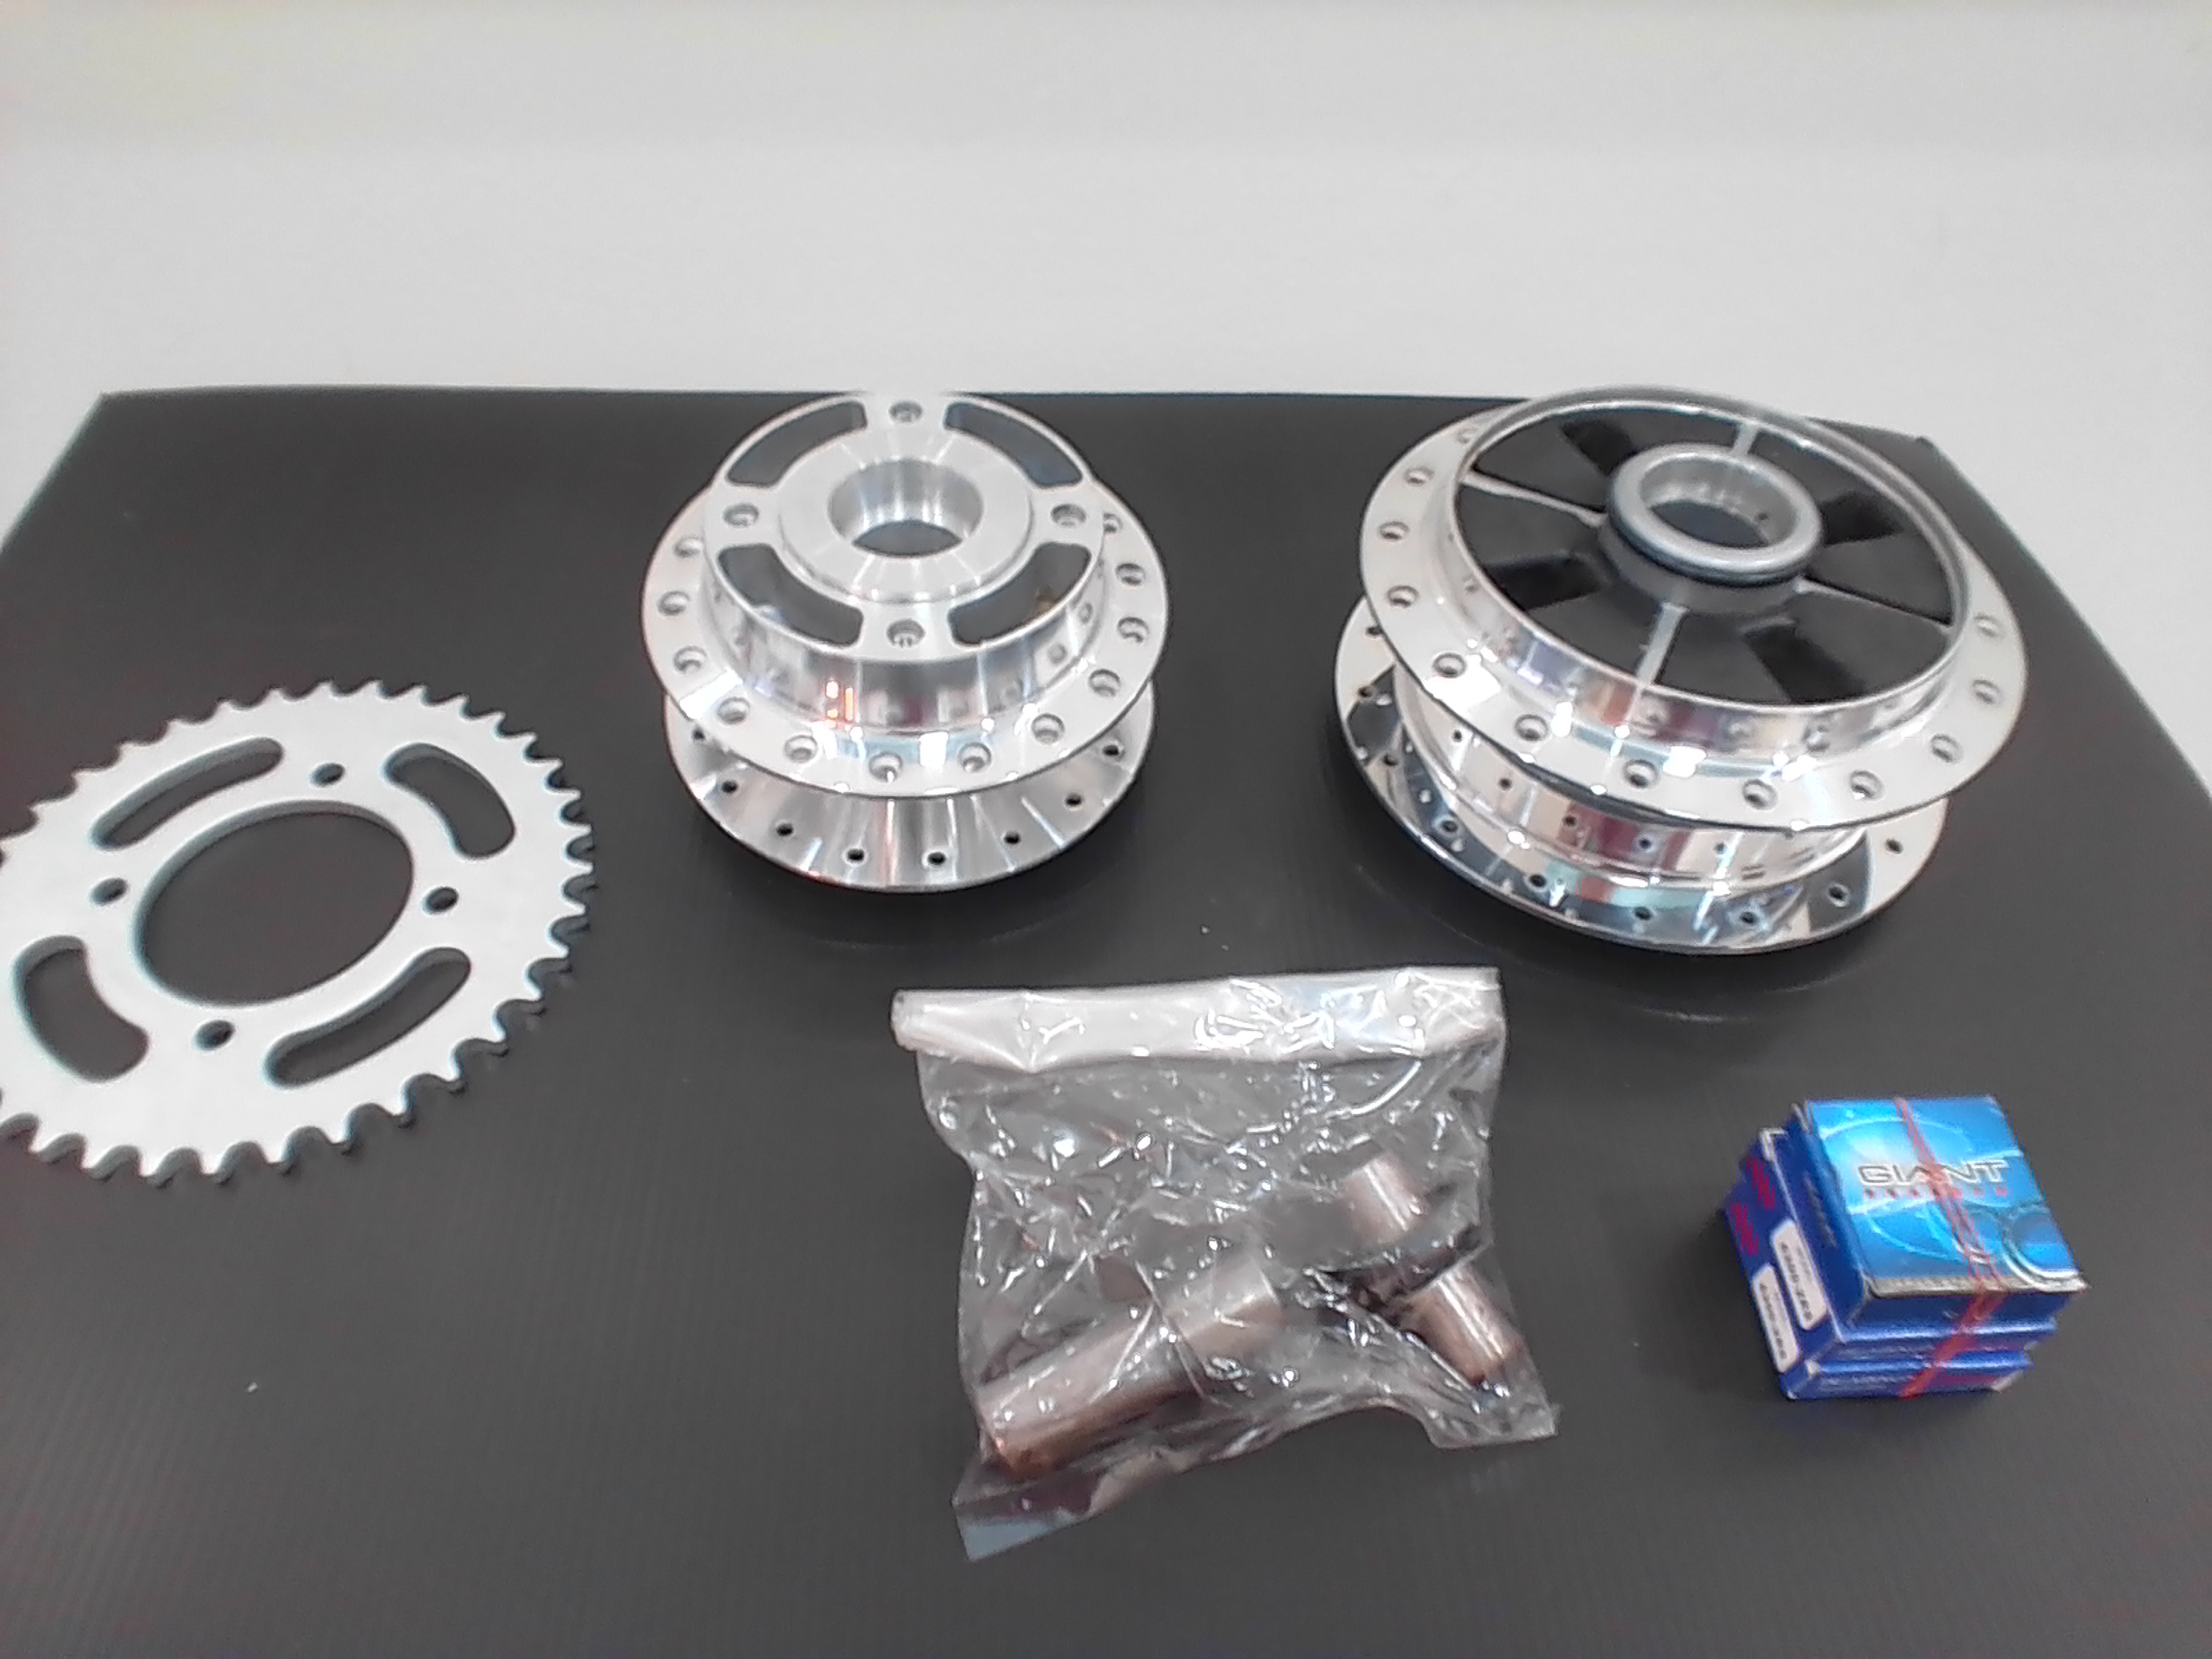
Day 06 Tom Foolery. I had a day or two off. To maintain my sanity. Almost all of the first wave of parts have arrived. Hubs got nice new NTN bearings. They were due to be spoked up yesterday. Sadly the fools sent me gay "gold" rims instead of the ones i ordered. I swear to god! i'm done with Lazada! Every other part was ordered from Shoppe! All were correct & came within 3 days. Wen't to town on the yoke & stem. Cleaned to bare metal & painted with zinc acid etch primer. Got the new seat cover on. Not my best work. But looks okay. Almost got tendonitis pulling the large staple gun. It's back in it's home. Probably never to see the light of day again. Etched & heat resistant painted the rear sproket ram plate thingy. Repeated with the rear brake drum cover. The swingarm came out great. Considering the amount of corrosion. Flappled all the straight areas. Then set about it with the dremel with numerous attachments for the hard to reach areas. Etched primed & painted gloss black. Finished it off with Samurai 2K clear spray can. Great stuff! But you have to use it all within a few hours of popping the primer mixer. Pretty exepensive at 230tb per can. Not really worth digging out the comp & spray gun for small items. And then came the forks.... The left side came apart very easily. The disc side was seized. I mean rock solid! Two fricking hours it took to get it apart! All of life's problems can be solved with a blow torch, wd40, pry lever & a hammer! Half the time spent was removing the darn seal without damaging the lower fork. Pistons & guide rods cleaned up & can be reused. No damage to the fork outers. Got them cleaned up & painted with the methods above. Already have the new seals,springs & inners. Just need to wait for the paint to cure & then rebuild. The forks have been the most challenging & pain in the <deleted> job thus far. Such a nice change. With perseverance & beer. It's now behind me. Winning ???? On a happy note. Mrs. Simple used the Jog today for its break-in. Happy to report. Both came, wen't & have survived! Will update this post with pics within the hour. Untill then. It's time for a cold one. Take it easy all & cheers! -
Join me in my latest restoration project. 1993 Yamaha Belle-R